
How to change injectors in a Renix XJ
My Dad’s 4.6 stroker is in a 1988 XJ Wagoneer. It has the Renix control system.
It has always run rich as we installed the recommended 24lb Mustang injectors with the build.
I recently upgraded the injectors in my 91 XJ so I decided to try my old injectors in his to see how it would run. The difference was immediate.
No more filling the shop with fumes and no more bog on initial throttle opening.
I decided to swap in a set of 4 hole injectors from K suspension. (By the way don’t buy them from any other Jeep injector site on the internet. Not unless you like filing PayPal claims to get your stuff. Just get them from KS.)
Make sure the engine is cool before you start as you will inevitably spill some fuel on the exhaust manifold. You can also disconnect he battery cable if that makes you feel safer.
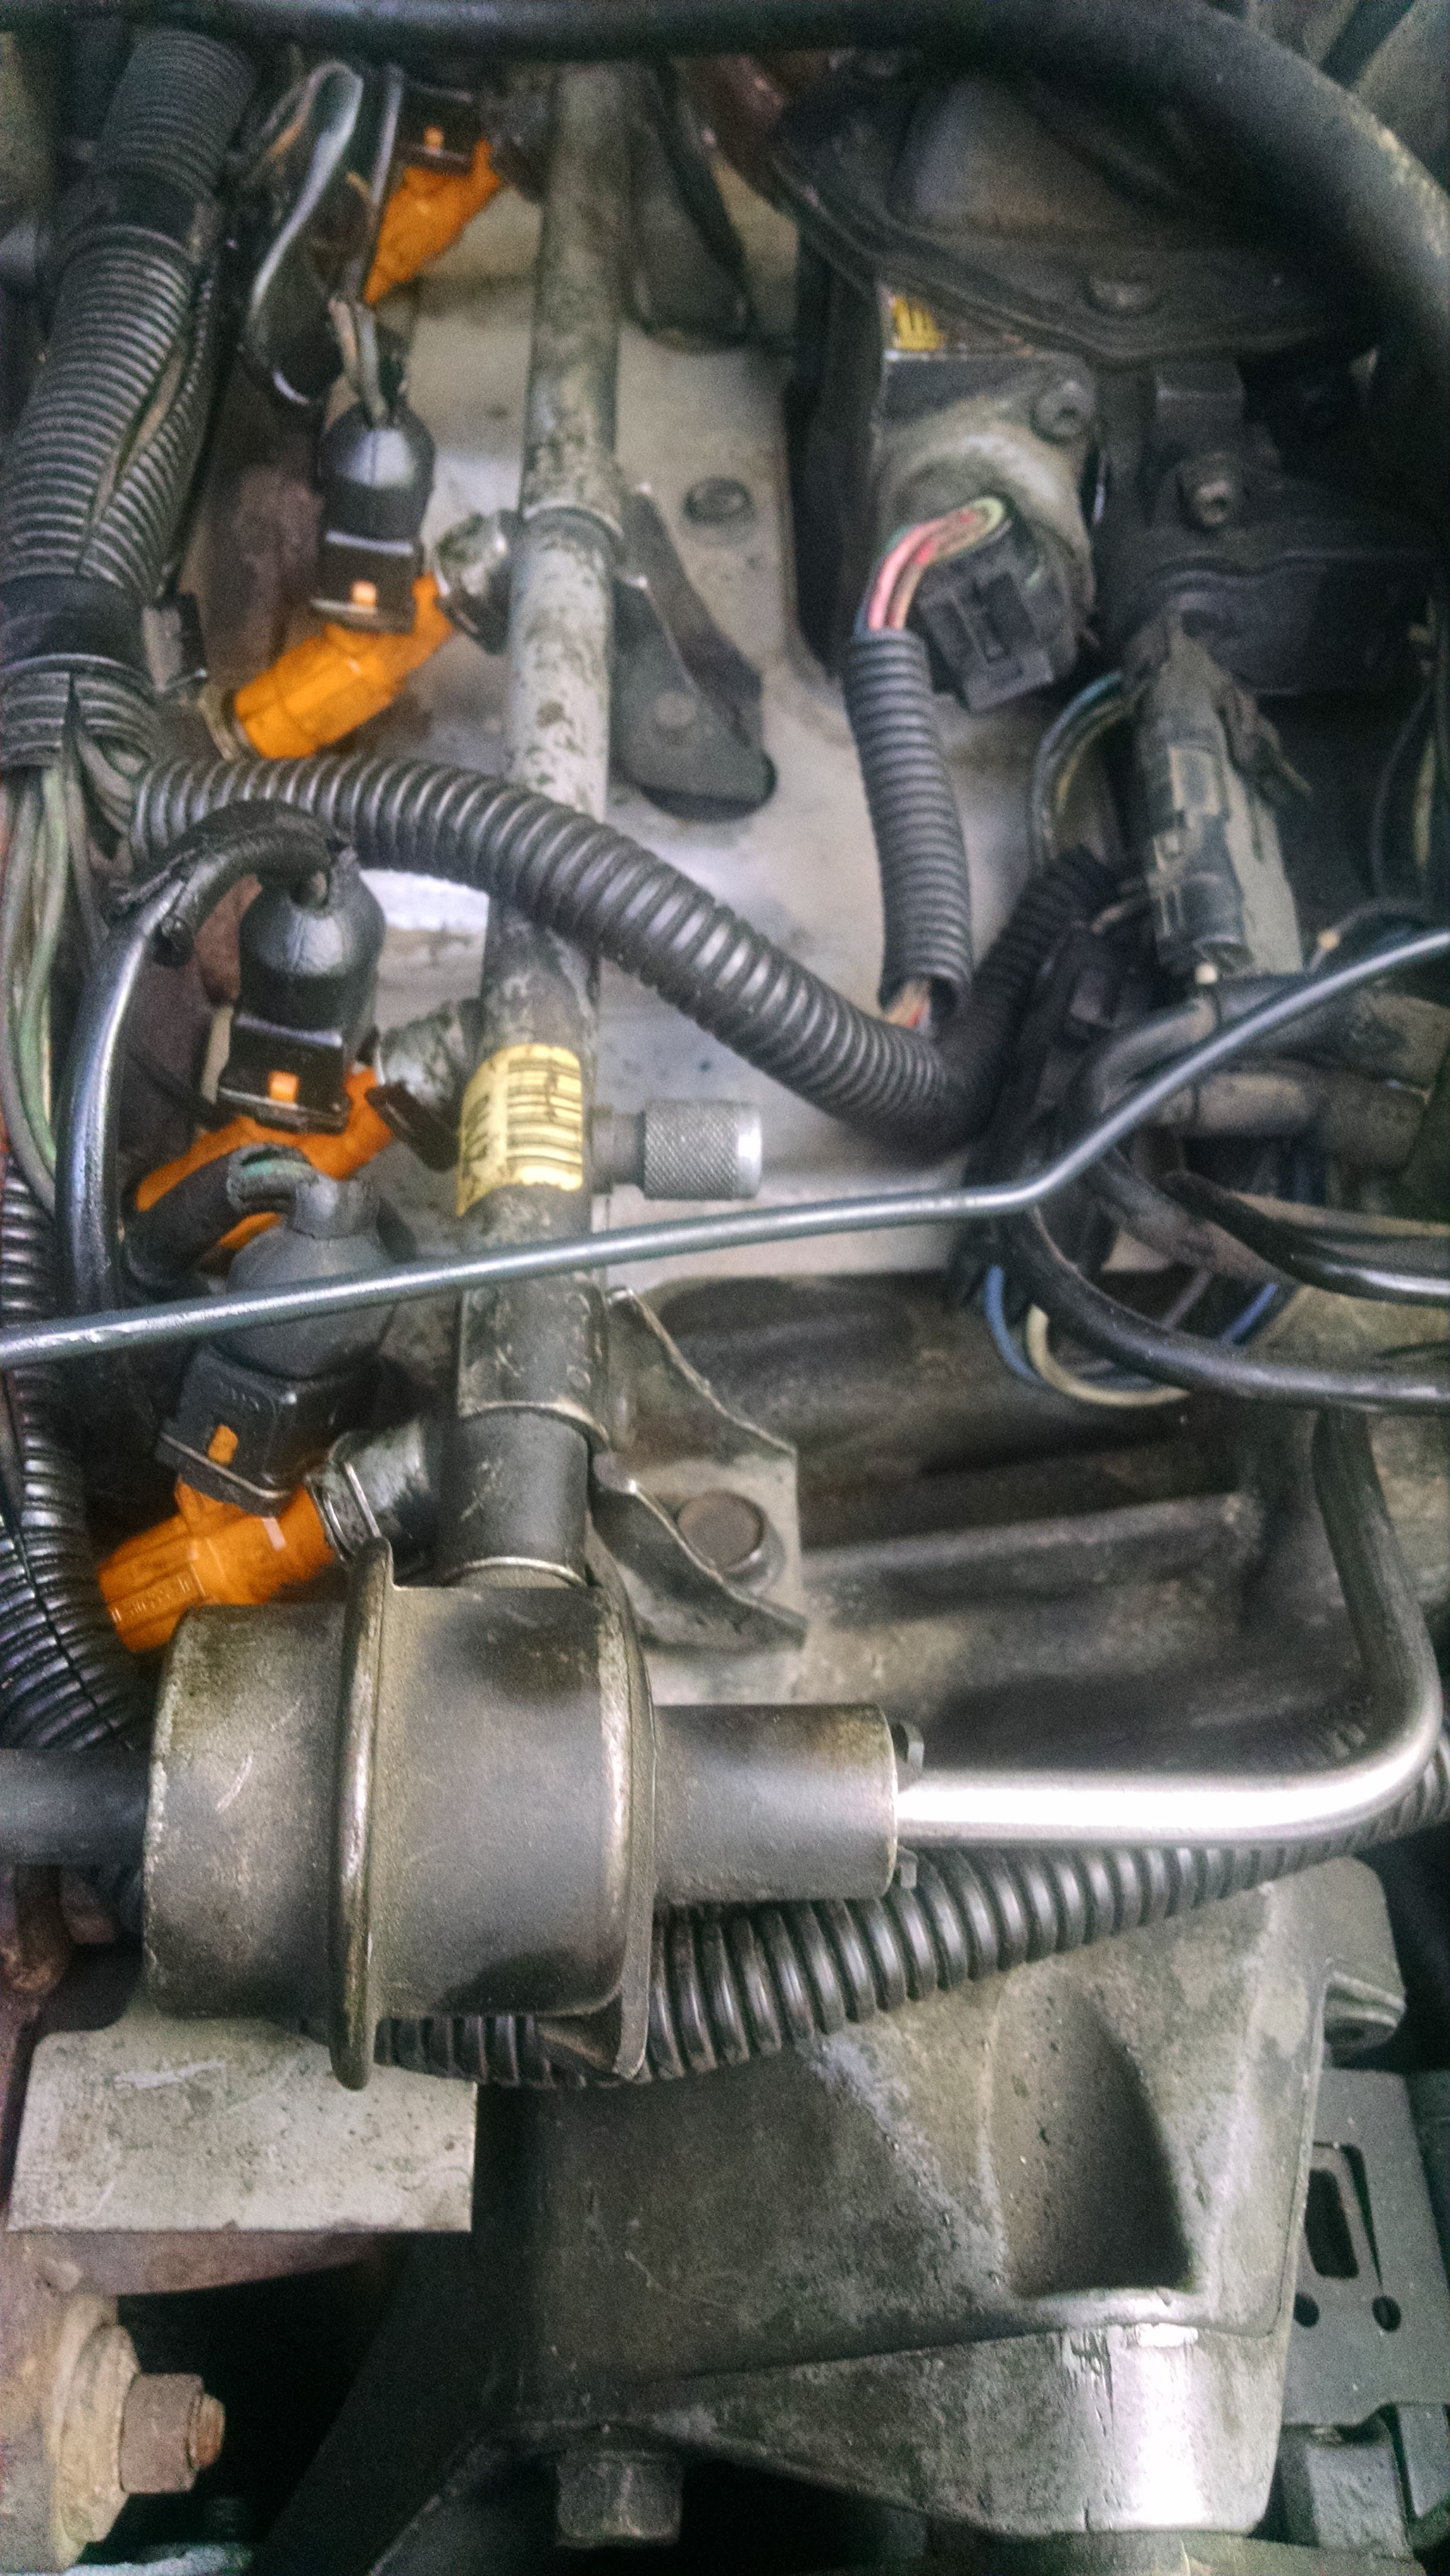
Unbolt the bracket that holds the fuel return line in place. It is hidden under a bracket that holds some vacuum lines.
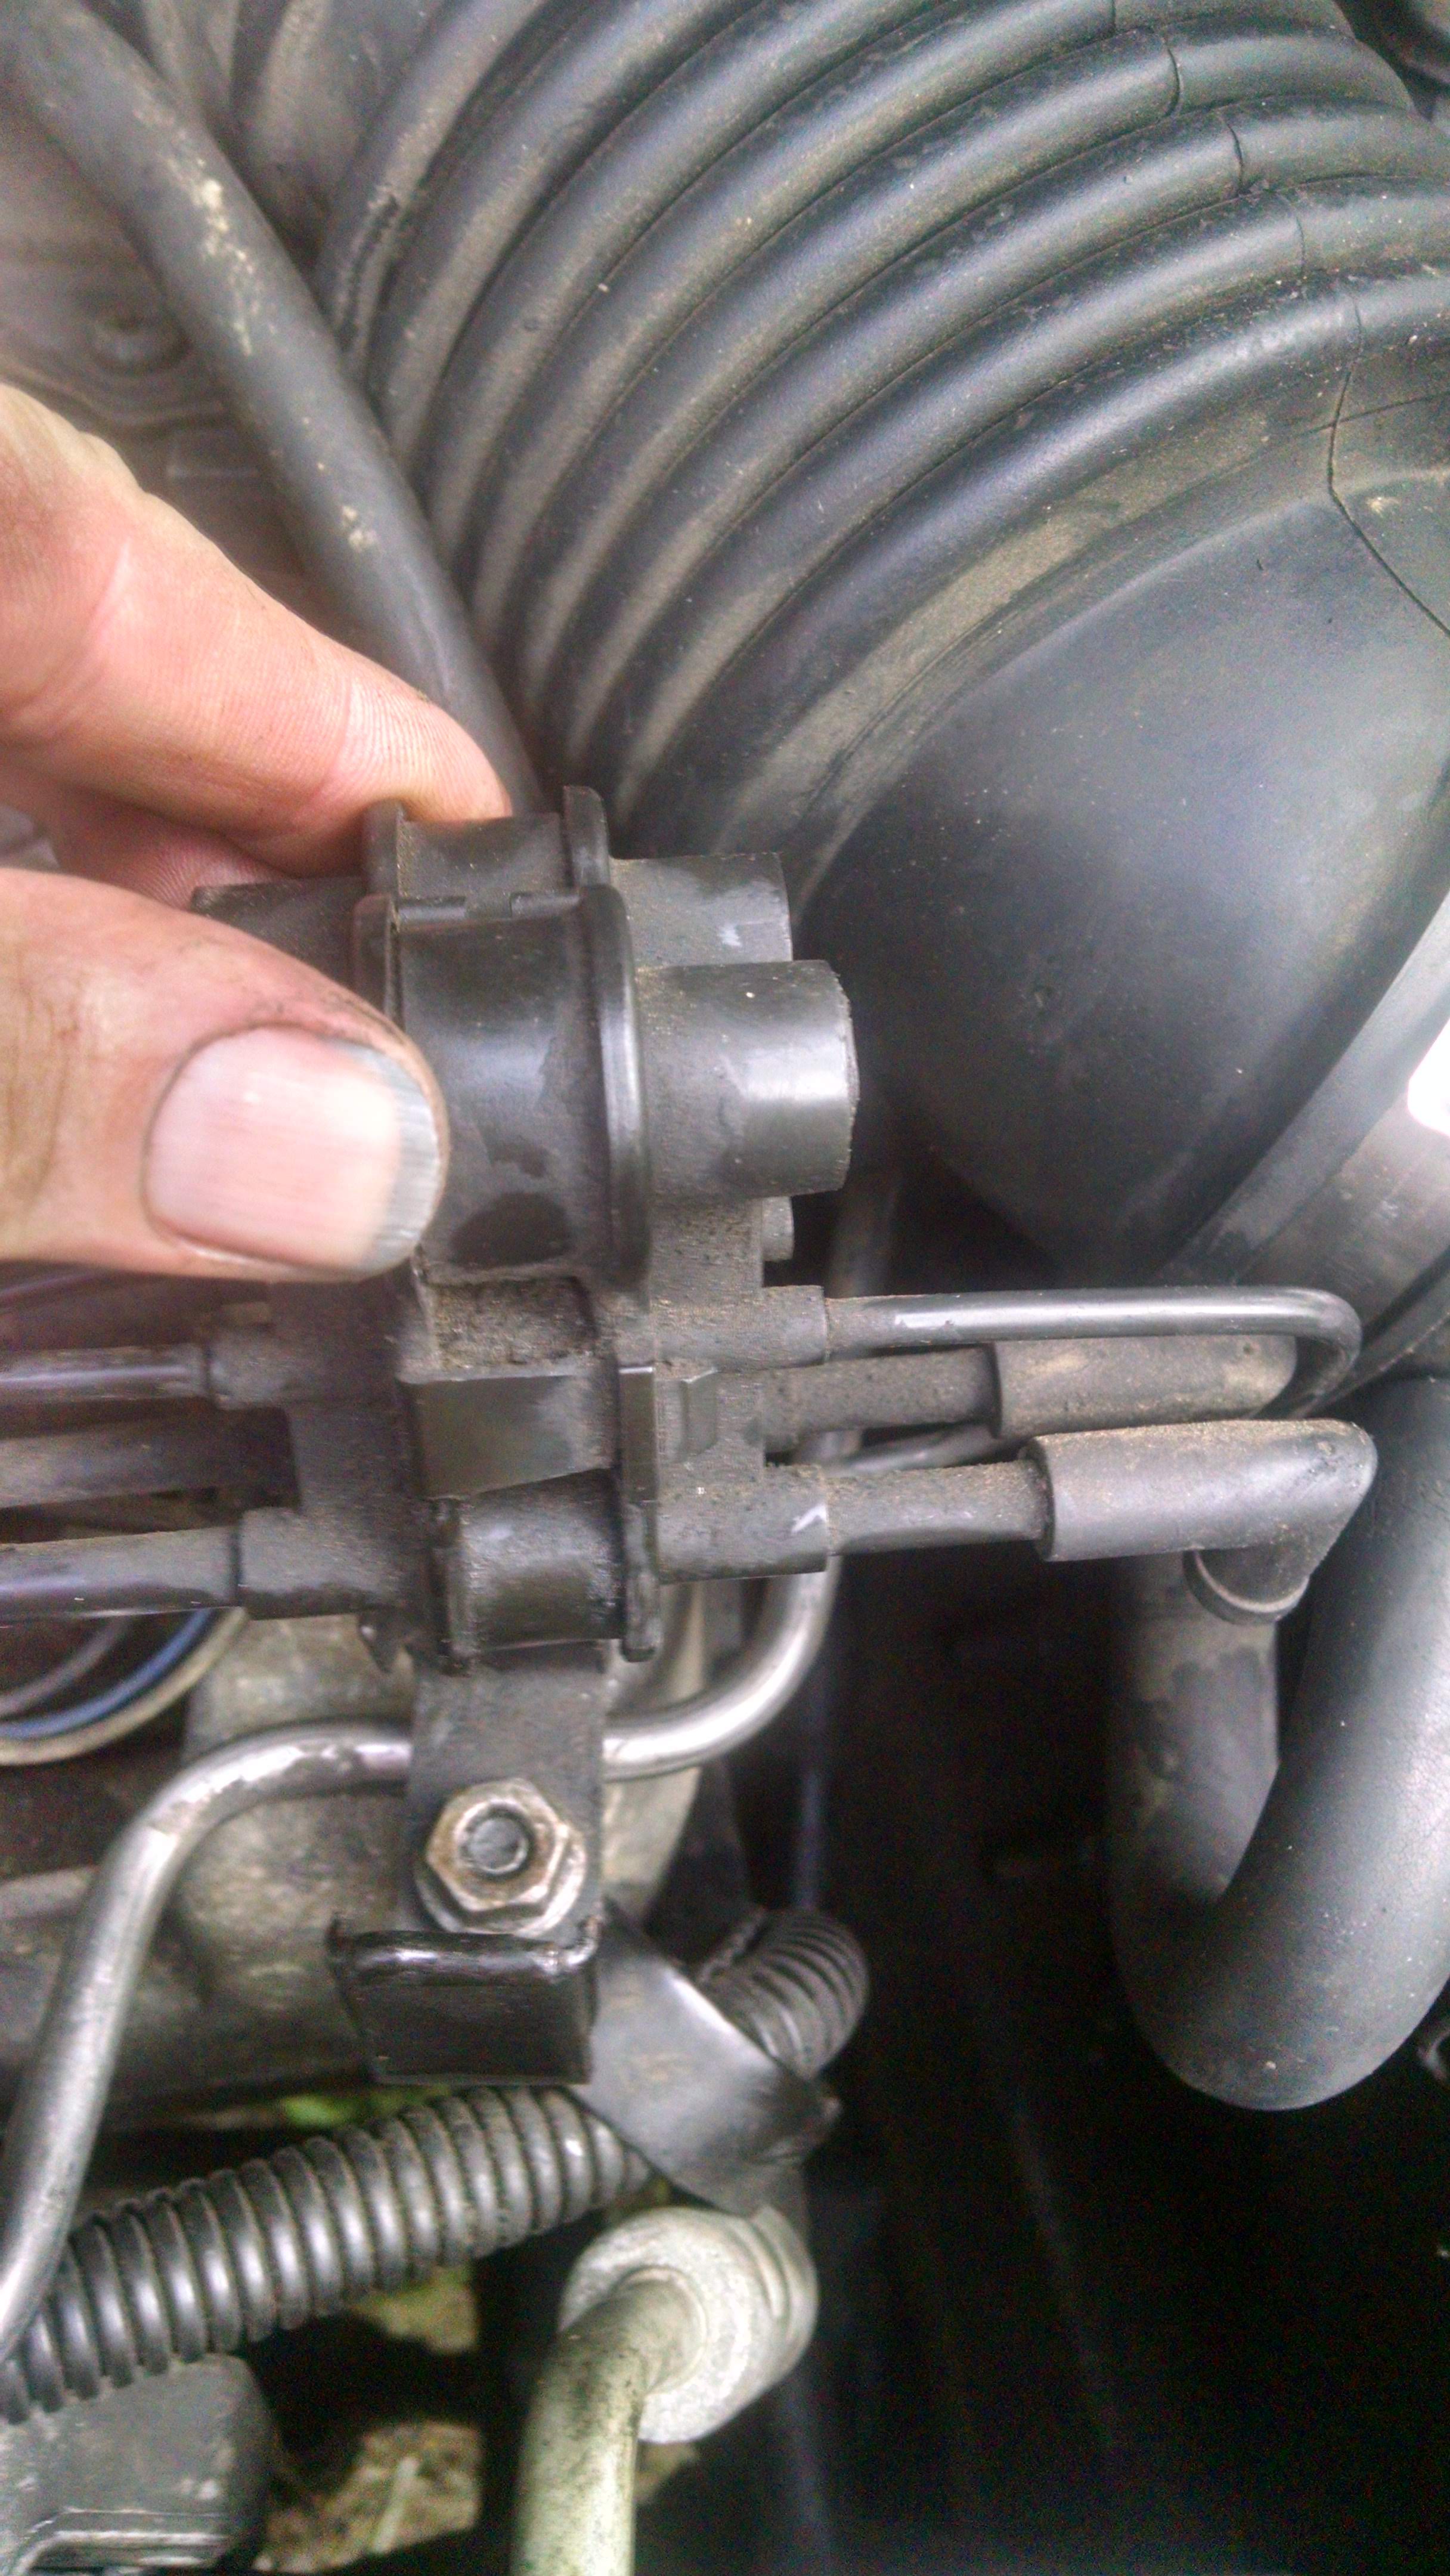
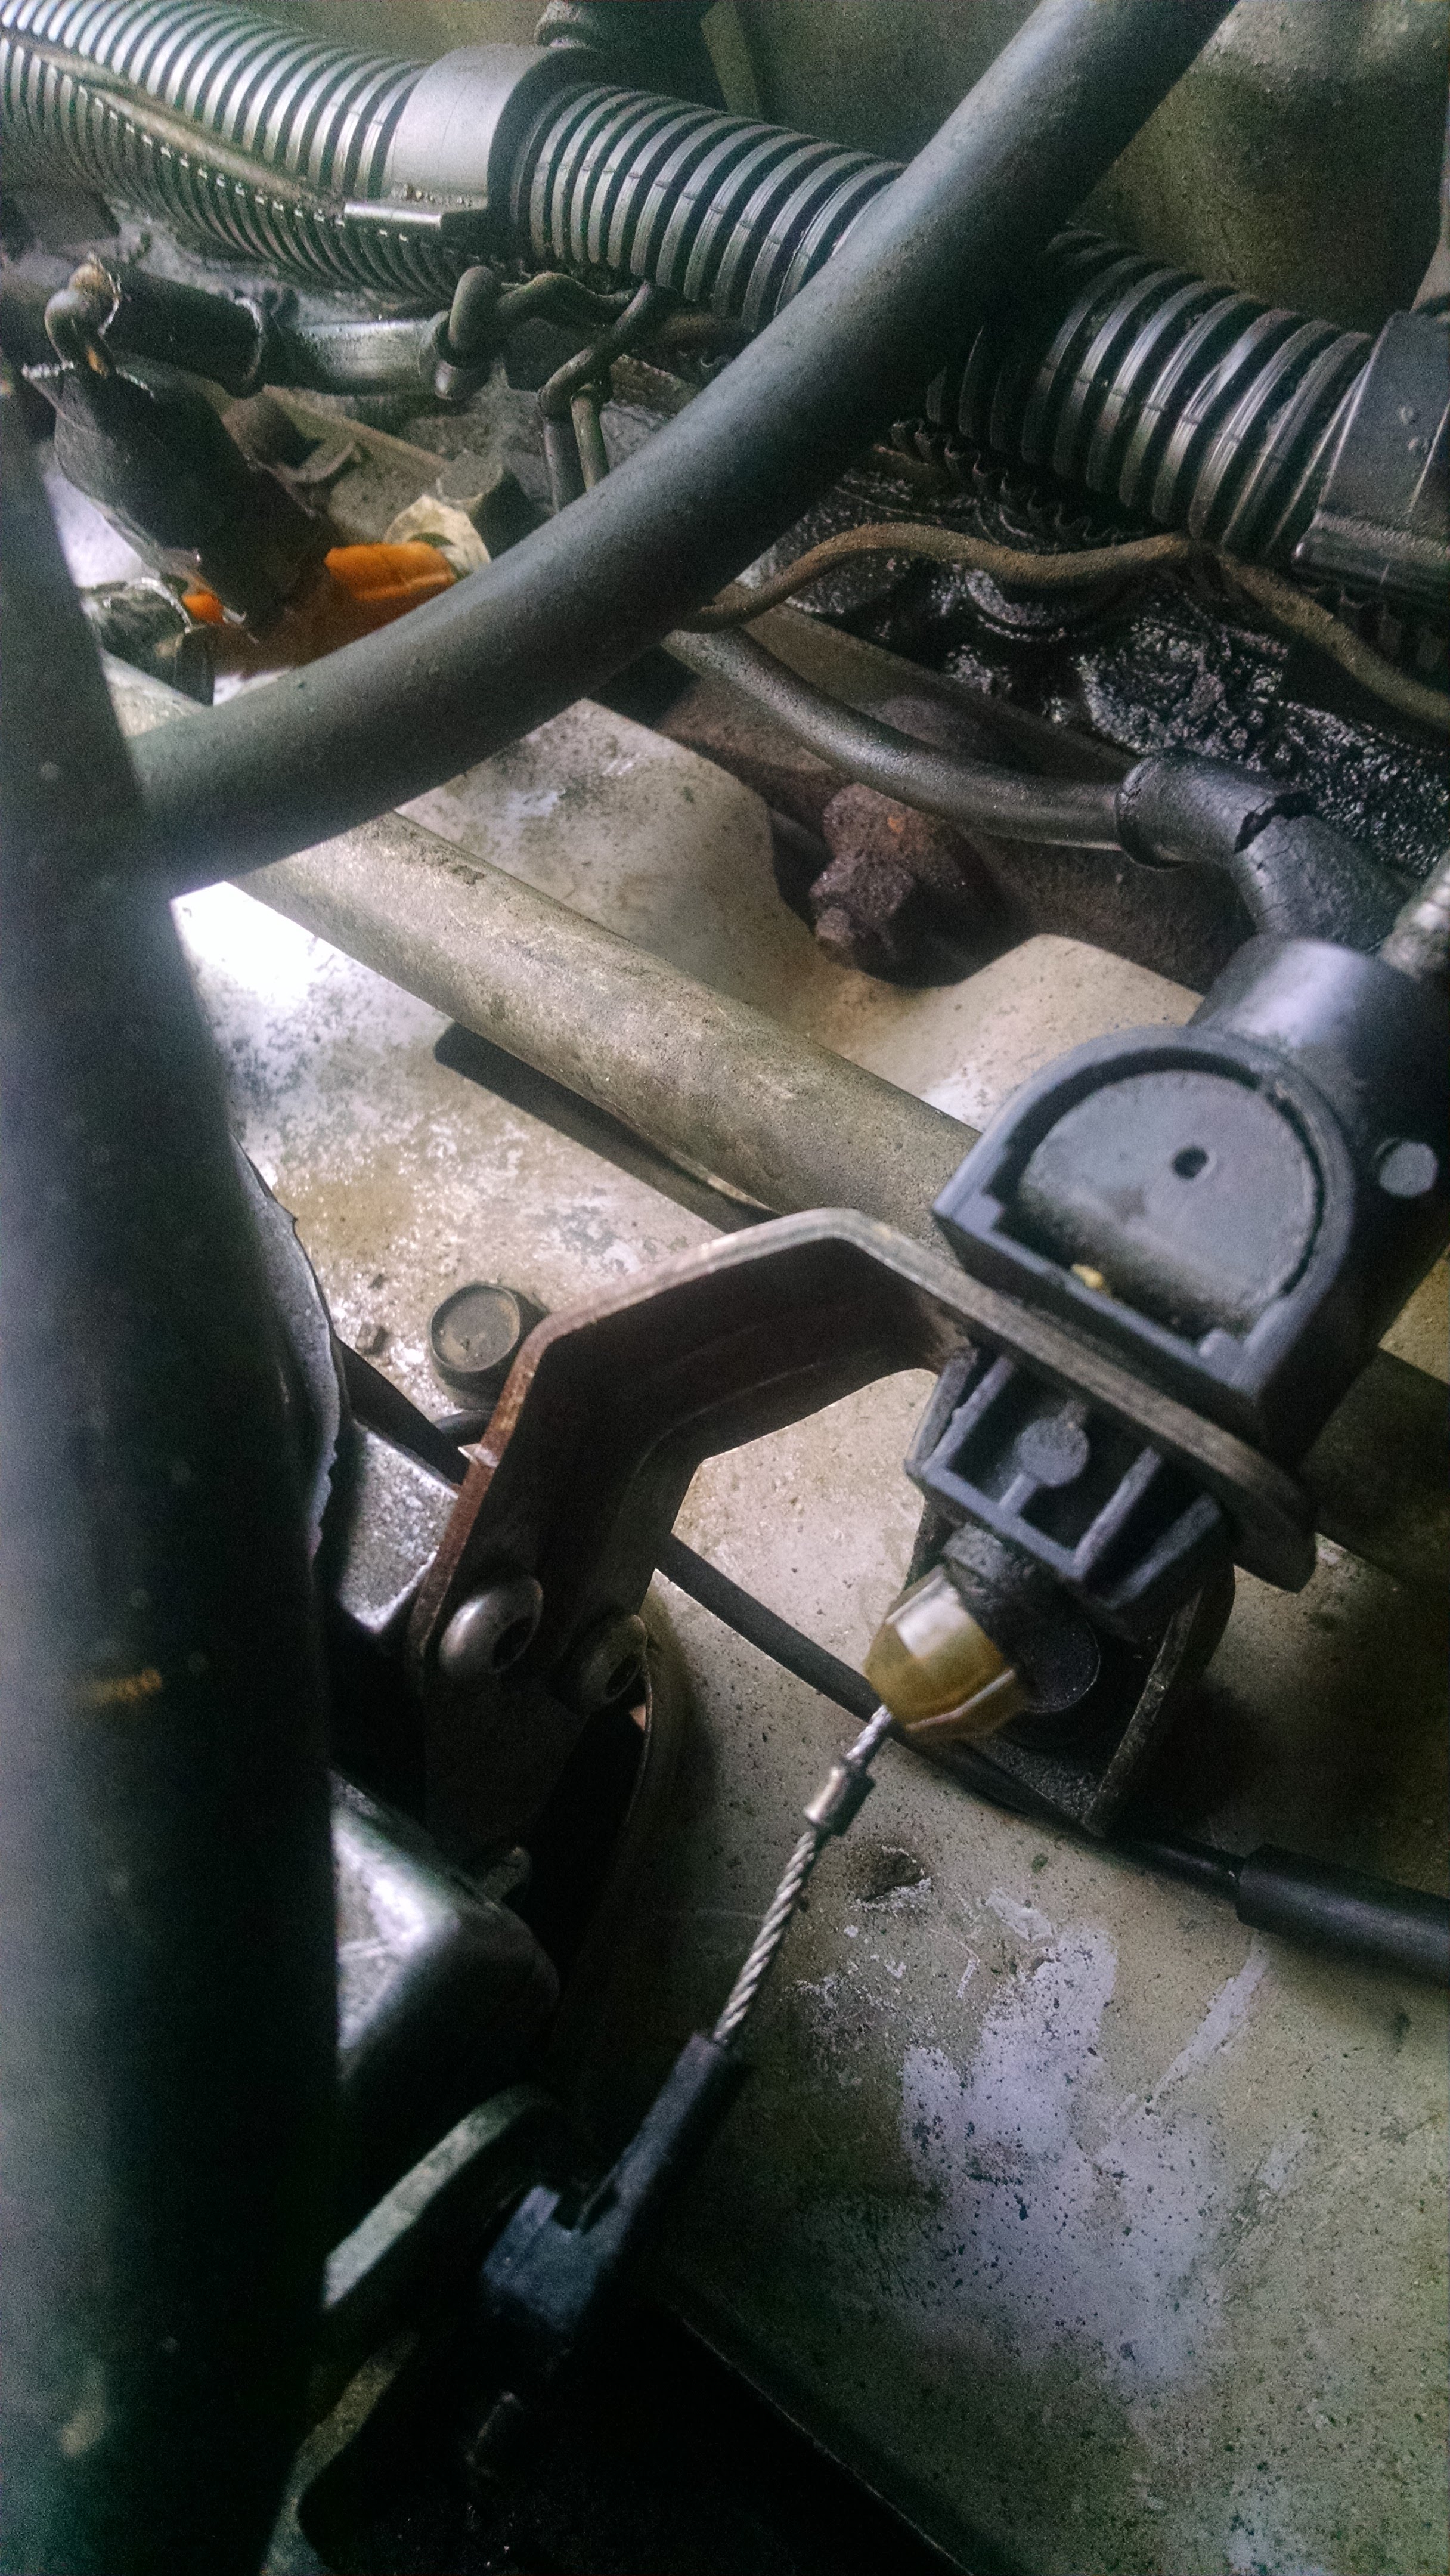
Unclip the fuel line from the regulator and move it out of the way. Remove the transmission cable from the throttle body if you have an Automatic. Then three torx screws that hold the bracket to the throttle body.
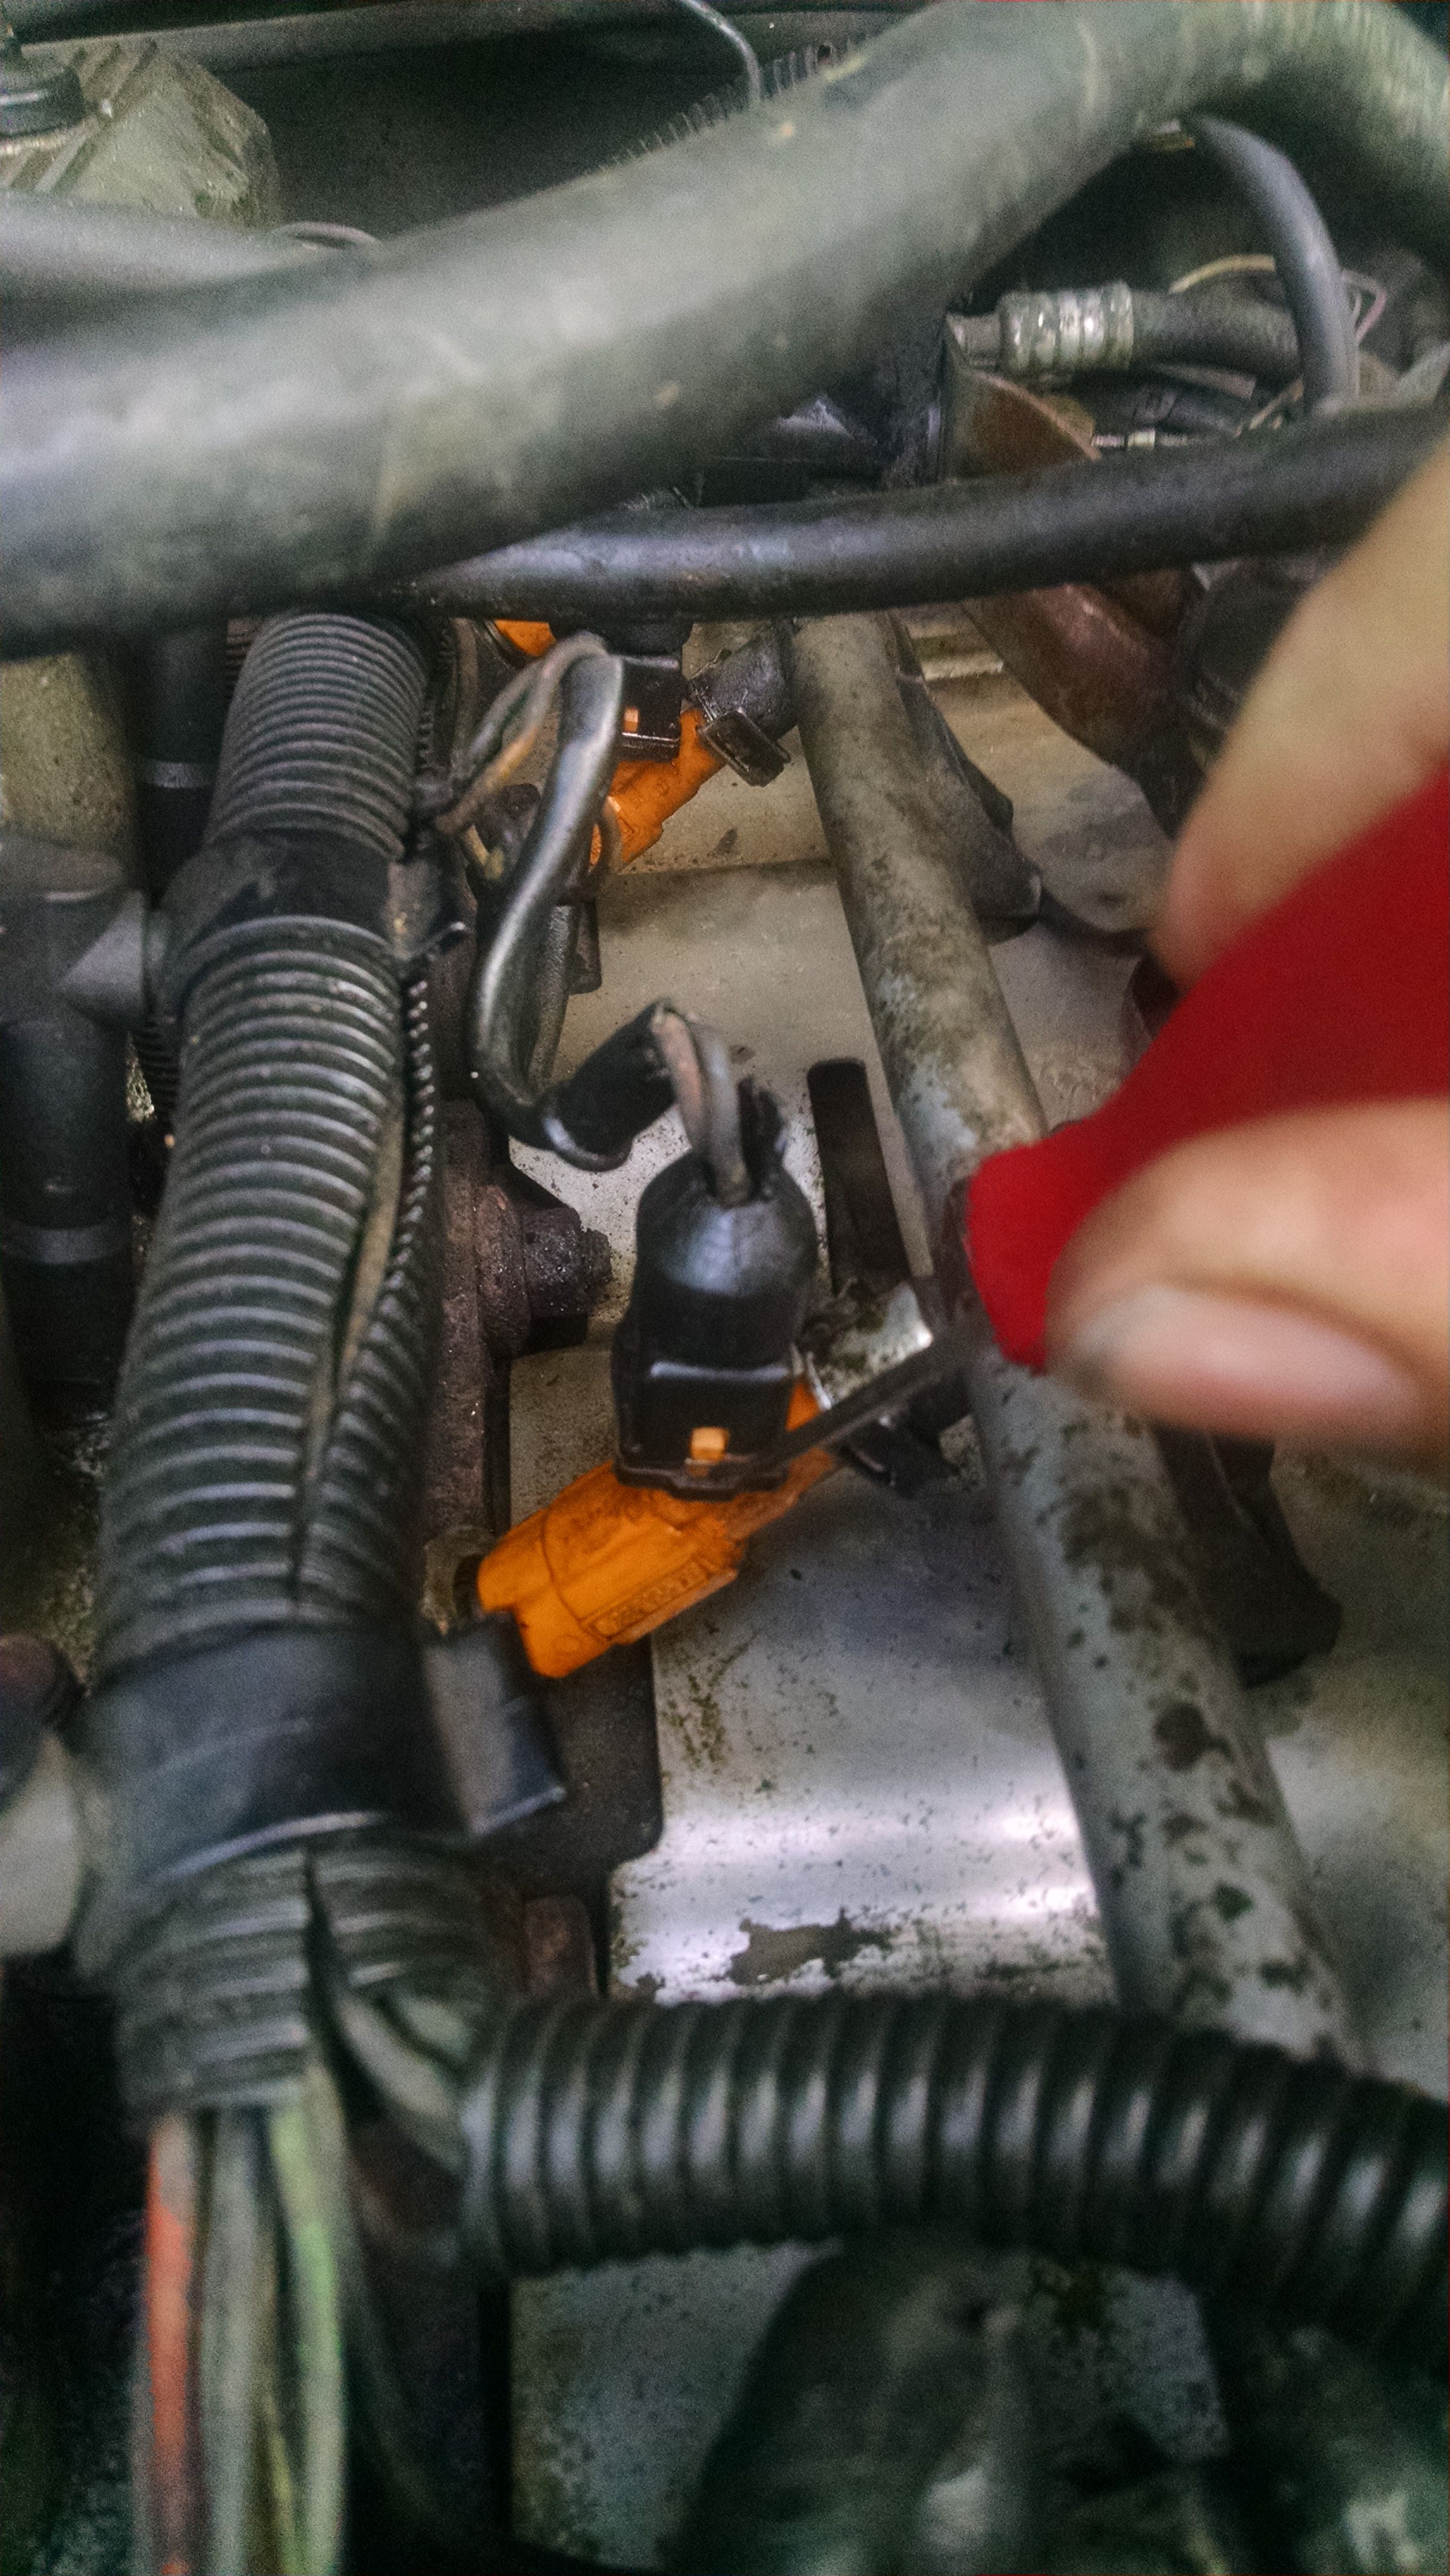
Use a pick to remove the spring clips and unplug the injector wires from each injector. Be sure to mark them somehow so they don’t get mixed up going back. Leave the clips that hold the injector to the rail for now.
Next, remove the four bolts that hold the fuel rail to the manifold. Now use both hands to pull the rail straight off the engine. It won’t have to move far. Make sure the O rings come out with eh injectors. If not, carefully use a pick to pull them out of the manifold. If one falls in; you are in for more work to retrieve it.
Now unclip the injectors from the rail and remove each one. A large screw driver can be used to pry on them carefully if they are really stuck. Gently twist the screwdriver between the flange of the rail and the electrical connector part of the injector.
Coat the new injector O rings with engine oil. I poured some in the bottle cap and dipped each end of each injector in. Be very careful when installing the injectors into the rail not to nick the O ring. Push in firmly and straight. If the o ring gets crooked, pull it out and start over. Some twisting may help.
Now install the electrical connectors. They are much easier to plug in than to remove. Now install the retainer clips to hold the injectors to the rail.
Now, carefully align all six injector with holes they need to go in. Use both hands to firmly press the whole rail in at once. Wiggle it around until all the injectors are seated in the manifold and the holes will line up to mount the rail back on the manifold.
Bolt the manifold back in place. Put the fuel return line back in. You may want to do a leak test before putting the transmission cable back on. To leak test, hook the battery back up and turn on the key. You should hear the fuel pump run. Cycle the key on and off to help pressurize the rail. Check for leaks. If none start up the Jeep.
It may take a moment to get all the air out for the Jeep to idle correctly. Inspect carefully for any leaks.
If none, shut the engine off and reconnect the transmission cable. If you have leaks, try twisting the injector. If it still leaks you have nicked an O ring and it will have to be replaced. You can swap the top and bottom O rings on the leaking injector to get you by if you don’t have spare O rings. If you are in a real bind, try using one from the old injectors.
The Renix computer adapts quickly to changes in the injectors. If it runs really rich after changing the injectors, check to see if the MAP sensor line was knocked loose while moving the fuel rail around. If there is a large vacuum leak check the crank case vent hose.
Enjoy your new better running engine.