
Replacing the Carburettor has given new life to my old tractor.
My tractor had gotten hard to start and was not running well. Often it would stall when working. Usually at the most inopportune times. I tried cleaning the carburettor several times and made all kinds of adjustments to it. But nothing seemed to help.
I finally broke down and bought a replacement.
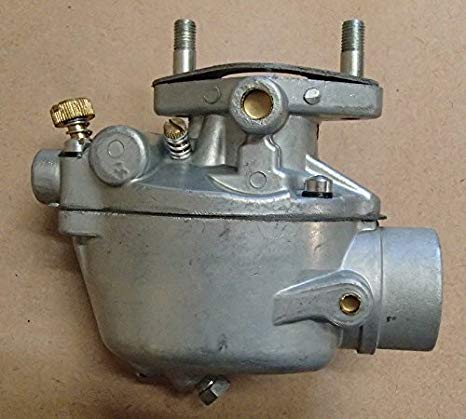
My first challenge was finding the right model to be a direct replacement. I first bought a EAE9510C model as that is what most places recommend. However, that was not an exact match for my fuel bowl set up. It was a direct match for my dad’s 8N however so I gave it to him.
I later ordered a EAE9510D. This model has the right connections for my fuel line to connect to with no modifications.
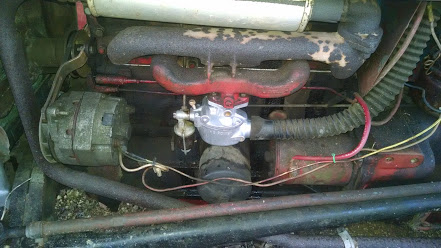
The carburettor is easy to remove. Especially when I have done ti so many times. Just shut off the fuel, use a 9/16 wrench to remove the fuel bowl from the carb body.
Reach behind and release the two spring clips that hold the choke and governor linkage rods. Then remove the two 1/2 inch hex nuts that secure the carb to the manifold.
Before installing the new carburettor, you will need to install the two studs. I do not recommend using the original half nuts to thread then in as they don’t have many threads inside. Use a couple of full nuts locked together to thread the studs in to the body.
Align the gasket and fit the carburettor to the manifold. Tighten the nuts and reconnect the linkage.
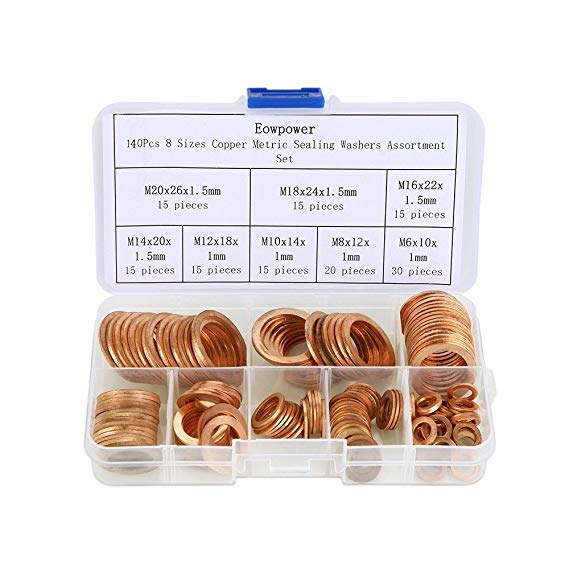
Attach the fuel bowl to the carb body. I highly recommend you use two new copper washers here.
MIne started and ran with no adjustments right out of the box. You may not be so lucky but the mixture screw is easy to turn until your tractor runs right.