Replacing leaking freon lines on my XJ Cherokee
After replacing my engine, I had to reconnect the AC lines and replace the freon. The system was originally designed to run R12 but I swapped over to R134 a long time ago. However, I still like to use my old gauge set on the R12 style fittings. I just adapted the yellow hose to fit the R134 cans.
I installed a new dryer and reconnected the hoses using new O rings where the old ones looked bad. I then hooked up my vacuum pump and pulled al the air out. I shut off the pump and closed the valve to see if it would hold. It held vacuum so I assumed no leaks and popped in the first can of freon.
I was getting nice cool air out of the defroster vent (see that issue repaired here.)
As I was waiting for the system to stabilize, I noticed oil dripping off one of the hoses. Then it started to hiss and blow freon and oil everywhere!
At first I had trouble finding a listing for replacement but finally armed with Jeep part number I was able to find the right hose on Amazon. Even if the listing did not say it was for my XJ. SInce this was not a prime shipping item, I knew it would be a few days before it arrived. So I searched through my parts Jeeps and found one with a hose that looked serviceable.
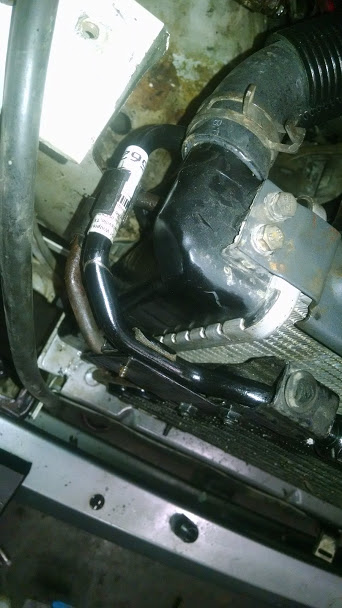
I installed the used hose and repeated the vacuum step. I then hooked up a new can of freon. Everything went well and once again I had cold air coming out of the vents when I heard a hiss. Then I saw the stream of freon and oil coming out of the high pressure hose from the compressor!

At least I knew form my previous research this hose was available. But it is not so easy to change. It connects to the condenser under the radiator support and behind the fiberglass header. I made a practice run at removing the one from the parts Jeep just to see what was the best way to approach the connection.

I ordered a new hose and set about taking the front header off the Jeep. I wish I had know this hose was bad when I had the radiator and condenser out for the engine swap.

In the process of removing the header I managed to break on e of the studs that holds the header to the fender. I ended up cutting it off flush and drilling a hole in the fender and tapping it for a bolt. Next time I have the fender off I will see about replacing the stud.
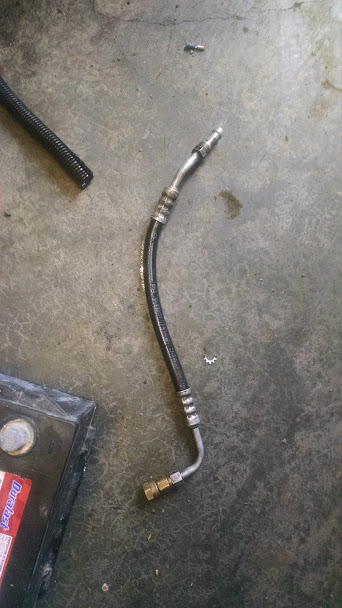
Getting he old line loose from the condenser proved very challenging. I used WD40 and PB blaster to help loosen the rust. It took quite a bit of torque to break the line loose the first time. And holding bock on the condenser side so as not to damage the aluminum condenser was challenging. Once it broke loose I had to work the fitting back and forth several times to get it to unscrew completely and not damage the aluminum threads on the condenser.

There were three line spacer clips that had to be removed as well. I pulled the battery and tray to get access to these. I threaded the line back under the wiring harness and back around to the Compressor. The line came with new O rings to make the seal on each end.

Next i put the front of the Jeep back together and waited another day for the other new hose to arrive.

I then repeated the vacuum and filing step again. This time there were no leaks! I let the system stabilize and then added the second can of Freon. I had nice cool air out the ducts that I had repaired while waiting for hoses to arrive.