
Installing a Spartan Locker in my 1991 XJ

Before you purchase a locker for a Dana 35 you need to determine the size of the spider gears. There were two different sizes. 1.5 and 1.62. Various web sites show the change over point at 93 or 94. However, I found my 91 had the larger size. My advice is measure before you buy to make sure you are getting the right one. Otherwise you will have to return the wrong one like I did.
The first step is to lift the Jeep and remove the rear wheels and the brake drums. Removing the brake drums proved to be the most difficult part of this job because there was a ridge of rust or brake dust built up that just didn’t want to come over the shoes for some reason.
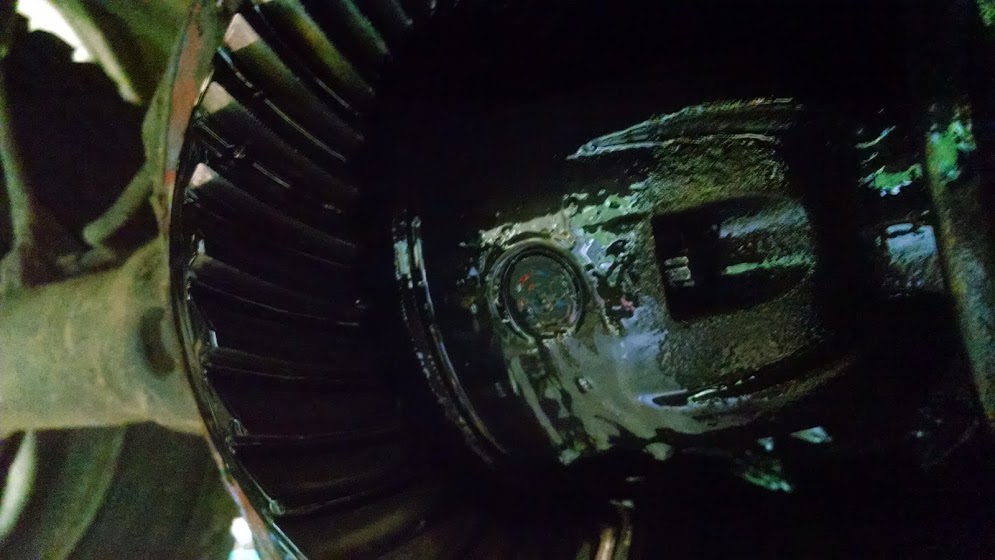
Withe axles free to move you can now remove the differential cover. Use a pan to catch the fluid as it comes out when you remove the cover. I used a clean pan so I could reuse the fluid since it was not very old.
Next remove the cross pin by removing the set screw. I used a 1/4 12 point box end wrench. If this is the first time this screw has been removed it may need some heat form a propane torch to loosen the locktite.
Withe pin out, you can slide out the cross pin. Next push in on the axles slightly and let the C clips drop out. Set these aside for reuse. Then rotate the spider gears and slide them out. If there is a chance you may reuse these, keep the thrust washers with the matching gear.
Next,remove the side gears and their thrust washers. Again, if you might reuse these keep the thrust washers and gears together as a set.
Before going any further measure the shaft diameter of the side gears and make sure they match the locker side elements. it will be either 1.5 or 1.6 inches.
If they don’t match, order the other locker.
Place the side elements in the carrier in place of the side gears. No thrust washers are used with the locker.
Next, prepare the drivers by assembling the pins and springs as noted in the Spartan book. Compress the spring and pin into the hole and secure it in place with a pin. Do all four of these the same way.
Set the spacer rings in as noted in the drawing. These capture the C clip so the openings face toward the axle on each side.
Before installing the drivers, make sure your C clips will pass through the slot. I had to grind my C Clips slightly so they would pass through. Remember that if you ever need to get the nack out they will need to slide freely.
The instructions from Spartan do not mention the C clips at all. So I had to figure this part out on my own.
Slide the center drivers into the carrier. You have to rotate them so the flat is in the right place to slide them in. It took me several tries to get the second one in. The first one has to be fully engaged in the side gear and the side gear has to be all the way into the carrier.
You may need to bend the pins that hold the drive pins in to maneuver the drivers int o place. Just don’t let them pop out or you will be chasing springs.
Once all the parts are in the carrier, you can remove the pins and free the drive pins. I use a set of end cutters to remove the pins. Make sure the drive pins are lined up with their slots on the other driver before removing the locking pin.
Now the fun part begins. Installing the C clips.
Rotate the assembly so that the hole between the drivers is where the cross shaft will eventually go. Now you will see a slot on one of the drivers facing you. Hopefully you made sure you C clip would fit before you installed the drivers.
Look into the slot and watch for the slot in the end of the axle to pass by. I used a hack saw blade as a feeler to find the edges of the slot. I used two small screwdrivers to pry the driver out of the side gear making a big a gap as possible. I then used a magnet to place the C cip into the slot in the axle. I then reached into the cross shaft hole and jiggled the spacer until the C clip was captured on the end of the axle.
Now remove the screw drivers and rotate the carrier so the other slot is visible and repeat the process on the other clip. Make sure the spacers capture the C clip and pull the axles back to hold then in place. There should now be room for the cross shaft to go in.
Determine which end fits the securing bolt and slide the cross shaft into place. It may require a light tap to go into the other side of the carrier. Install the securing pin and tighten it down.
Now you can reinstall the brake drums and wheels. Apply RTV silicone to the cover and secure it with the bolts. Let it dry for a few minutes before reinstalling the differential fluid.
You are now ready to enjoy having both wheels drive.
