I rebuilt my 944 Torque Tube
At Track Night I noticed a whirring noise when I was idling on grid in neutral. The noise would go away if I mashed the clutch pedal. I had heard a similar noise on the back straight at Road Atlanta back in February, so I decided to check into it closer.
With the car on the lift idling in neutral, there was definitely a noise coming from the middle of the torque tube. I decided it was time to change the bearings.
I read through the procedure on Clarks Garage. I also watched some Youtube videos. These looked intimidating, but I decided I had to give it a go.
I began by removing the shifter from the rod and the torque tube. I then removed the transaxle.

I then removed the exhaust and the starter. Then I unbolted the tube from the clutch cover.

I recommend disconnecting the brake lines at this point. I did it later and wished I had done it earlier. I left the hand brake cables attached.
I supported the axle tube on stands and removed the bolts as Clark’s Garage suggests. I had to persuade the bushings to come loose from the body of the car using a large pry bar. I gently lowered the axle tube down about 4 inches.
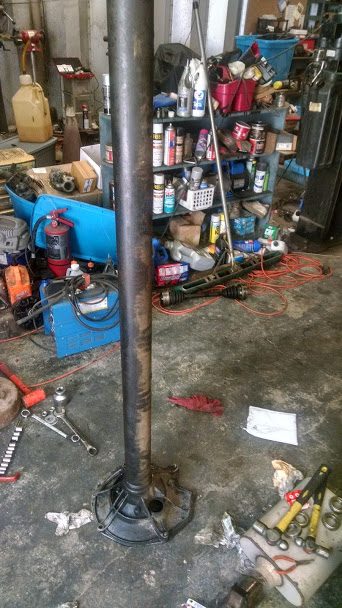
I then removed the three crossmember pieces that are under the torque tube. I was then able to start working the torque tube back toward the rear of the car. I was blocked by the heat shield for the muffler and the fuel tank guard. However, I was able to flex the muffler heat shield enough to get the bell past it and then slide the torque tube the rest of the way out the rear of the car. It was heavy and awkward, and I wished I had a helper, but I eventually got it out.
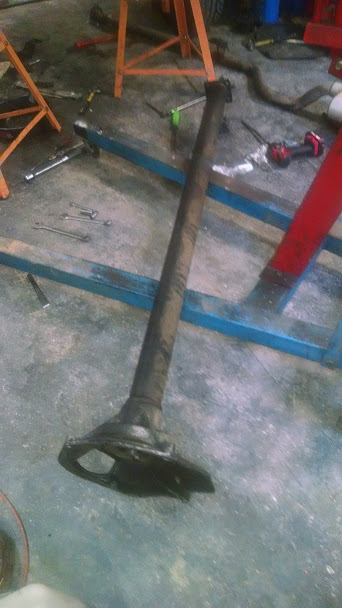
With the tube out and on the floor, I measured the distance from the front of the tube to the tip of the shaft for reassembly reference. I used a soft faced dead blow hammer to tap the shaft into the tube. It moved much more easily than I expected from watching videos. I found a piece of PVC pipe that fit over the pilot nipple and was slightly smaller than the shaft diameter. I used that to drive the shaft the rest of the way through the tube.
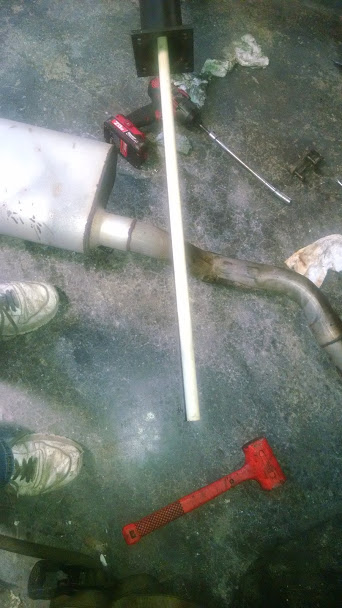
I had a little trouble when the pipe slipped off the end of the shaft somewhere past the second bearing. It was difficult to get the pipe lined back up and on the end of the shaft again as the plastic pipe had a slight curve to it. Once it was lined up properly, the shaft drove out easily.
To remove the bearings, I used the threaded rod method described by Clark’s Garage. I used 9/16 thread rod instead of ½ inch as I saw some people had trouble with the threads stripping. I got the threaded rod at Lowes. I used a Mazda crank bolt socket on the end of the rod to put force on the outer race of the bearings. I used two washers between the socket and the double nuts on that end.

On the flange end, I used an old Jeep Idler pully when Clark used a go cart pulley. I used my impact wrench to spin the rod and the bearings pulled out relatively easily. It got progressively harder to spin the rod as more bearings were picked up.
When the bearing stack hit the idler pully, I could not pull and more. Rather than disassemble the puller, I simply loosened it a bit and used it like a slide hammer to pull the bearings the last bit out.
I ordered bearings from Amazon. 6006 30x55x13mm 2Z ZZ Metal Shielded FAG Radial Deep Groove Ball Bearing
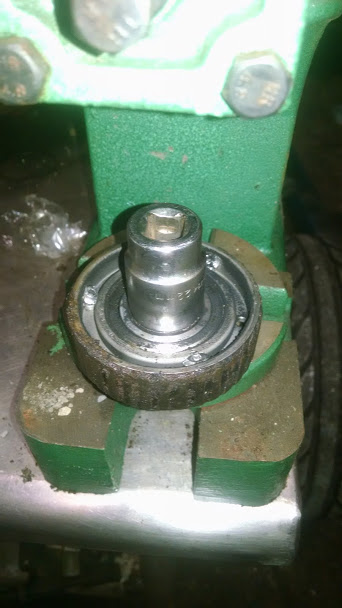
My rearing were in the two piece holder that is riveted together.

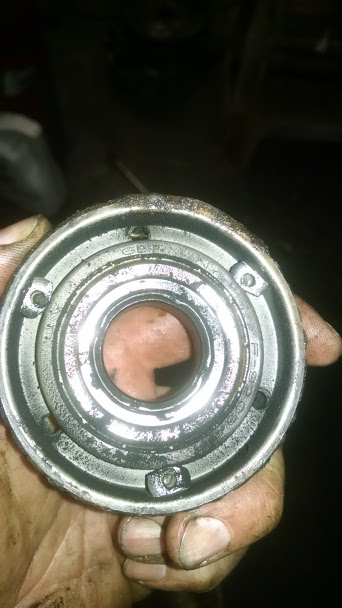
I used a socket and my arbor press to press out the center ring.
I then drilled out eh rivets holding the two halves together. The halves were still held together by the rubber tire on the outside and the bearing in the middle. I put the assembly in the vise with a socket supporting the bearing. I then used a pry bar to tap the halves apart.


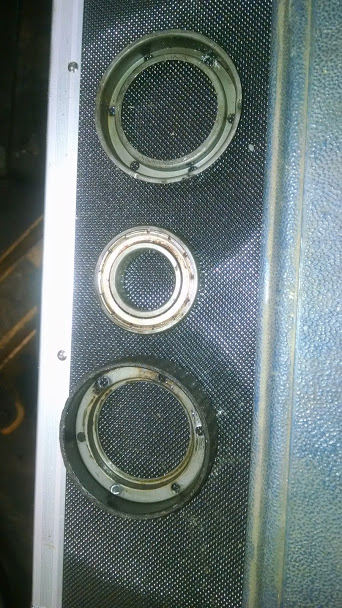
I fit a new bearing in one half. I then slipped the tire on. I used a drill bit to line up the holes so new rivets would fit. I then used the vise to press the parts together.

I then used a grinder to cut one side of the flat off the rivet so it would sit flush against the edge of the housing. I then used three rivets to hold the halves together. I then used the arbor press again to reinstall the center rings.
To press the new bearings in, I lubricated the tires with tire mounting lubricant. I’m sure dawn would work as well. I used the following diagram for where to place the new bearings in the tube.

I used the sane threaded rod set up I used to extract the bearings. I pressed the them from their near end so I did not have to move them so far down the tube.
I then stood the tube on the bell housing and lowered the shaft into place. I coated the shaft with rubber lubricant as well. I used a dead blow hammer to keep it moving. I set the splined section to the same stick out as I had before disassembly.
I enlisted some help to get the torque tube back in the car. I slid it in place and aligned the splines into the clutch disk. I then raised the rear suspension back into position and reattached the three crossmembers.
I then reinstalled the transaxle, exhaust and other parts I had removed. No more whirring in neutral.