How to replace the harmonic damper on a Jeep XJ
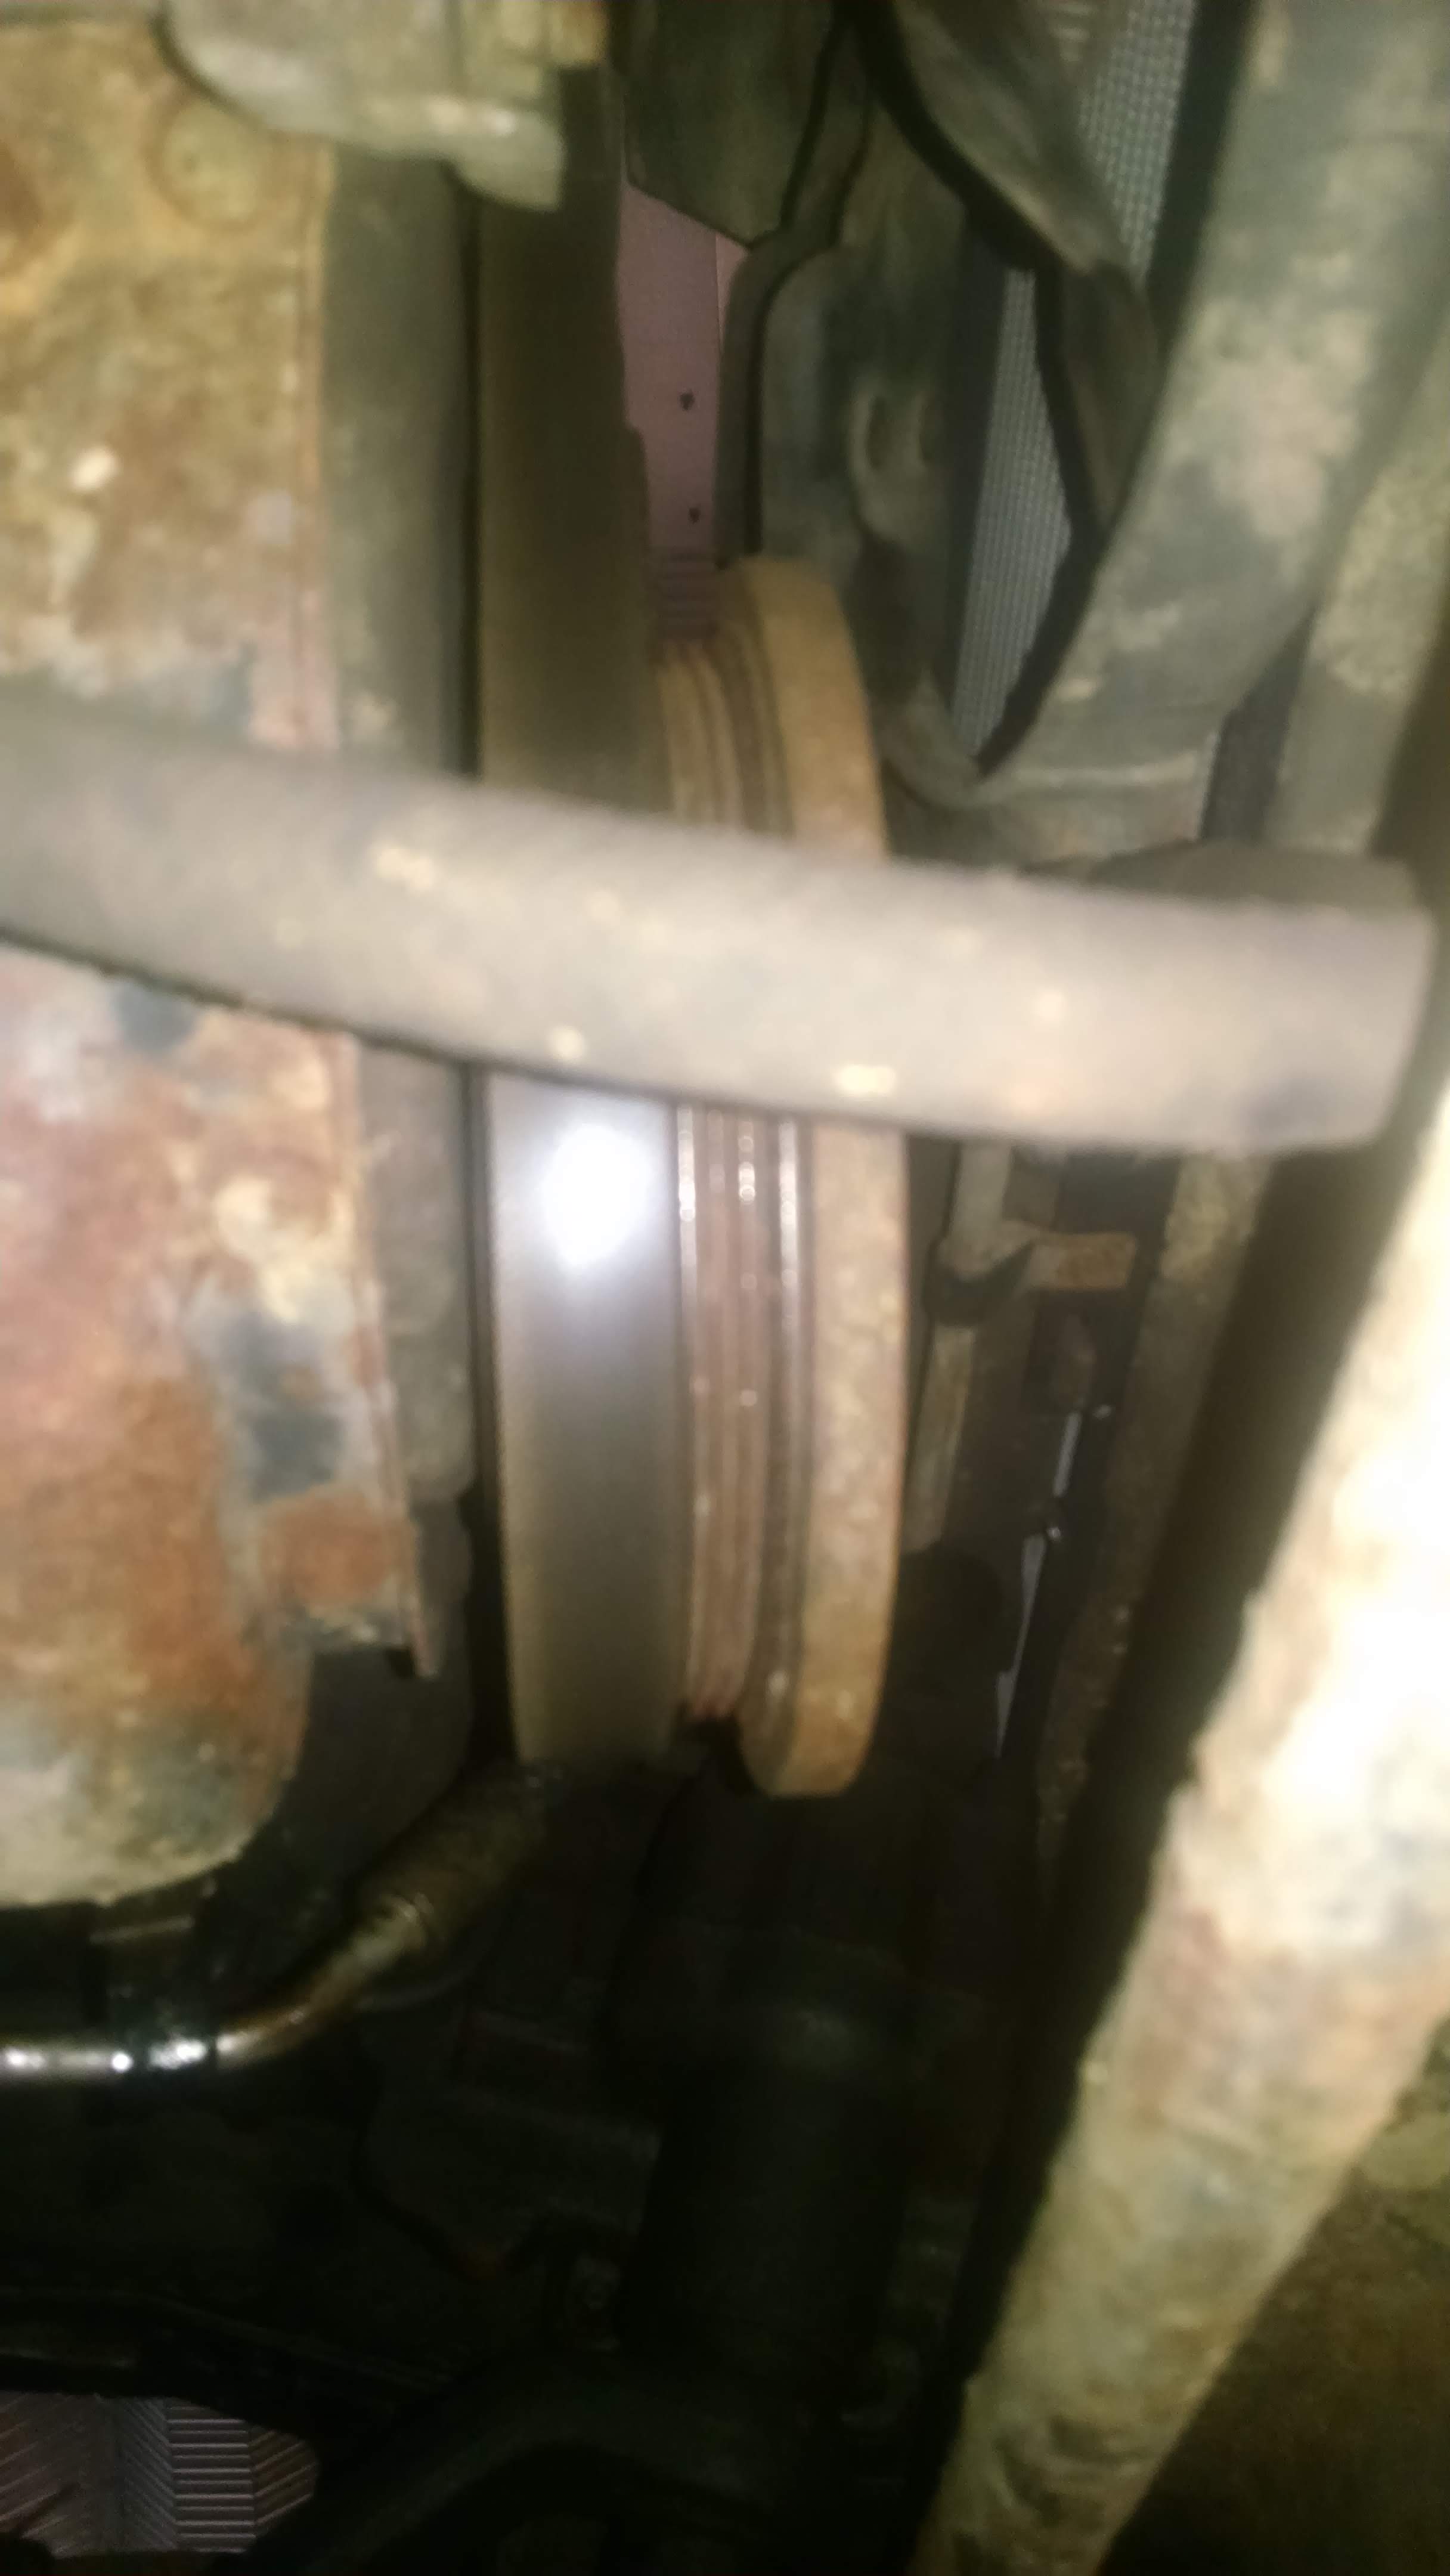
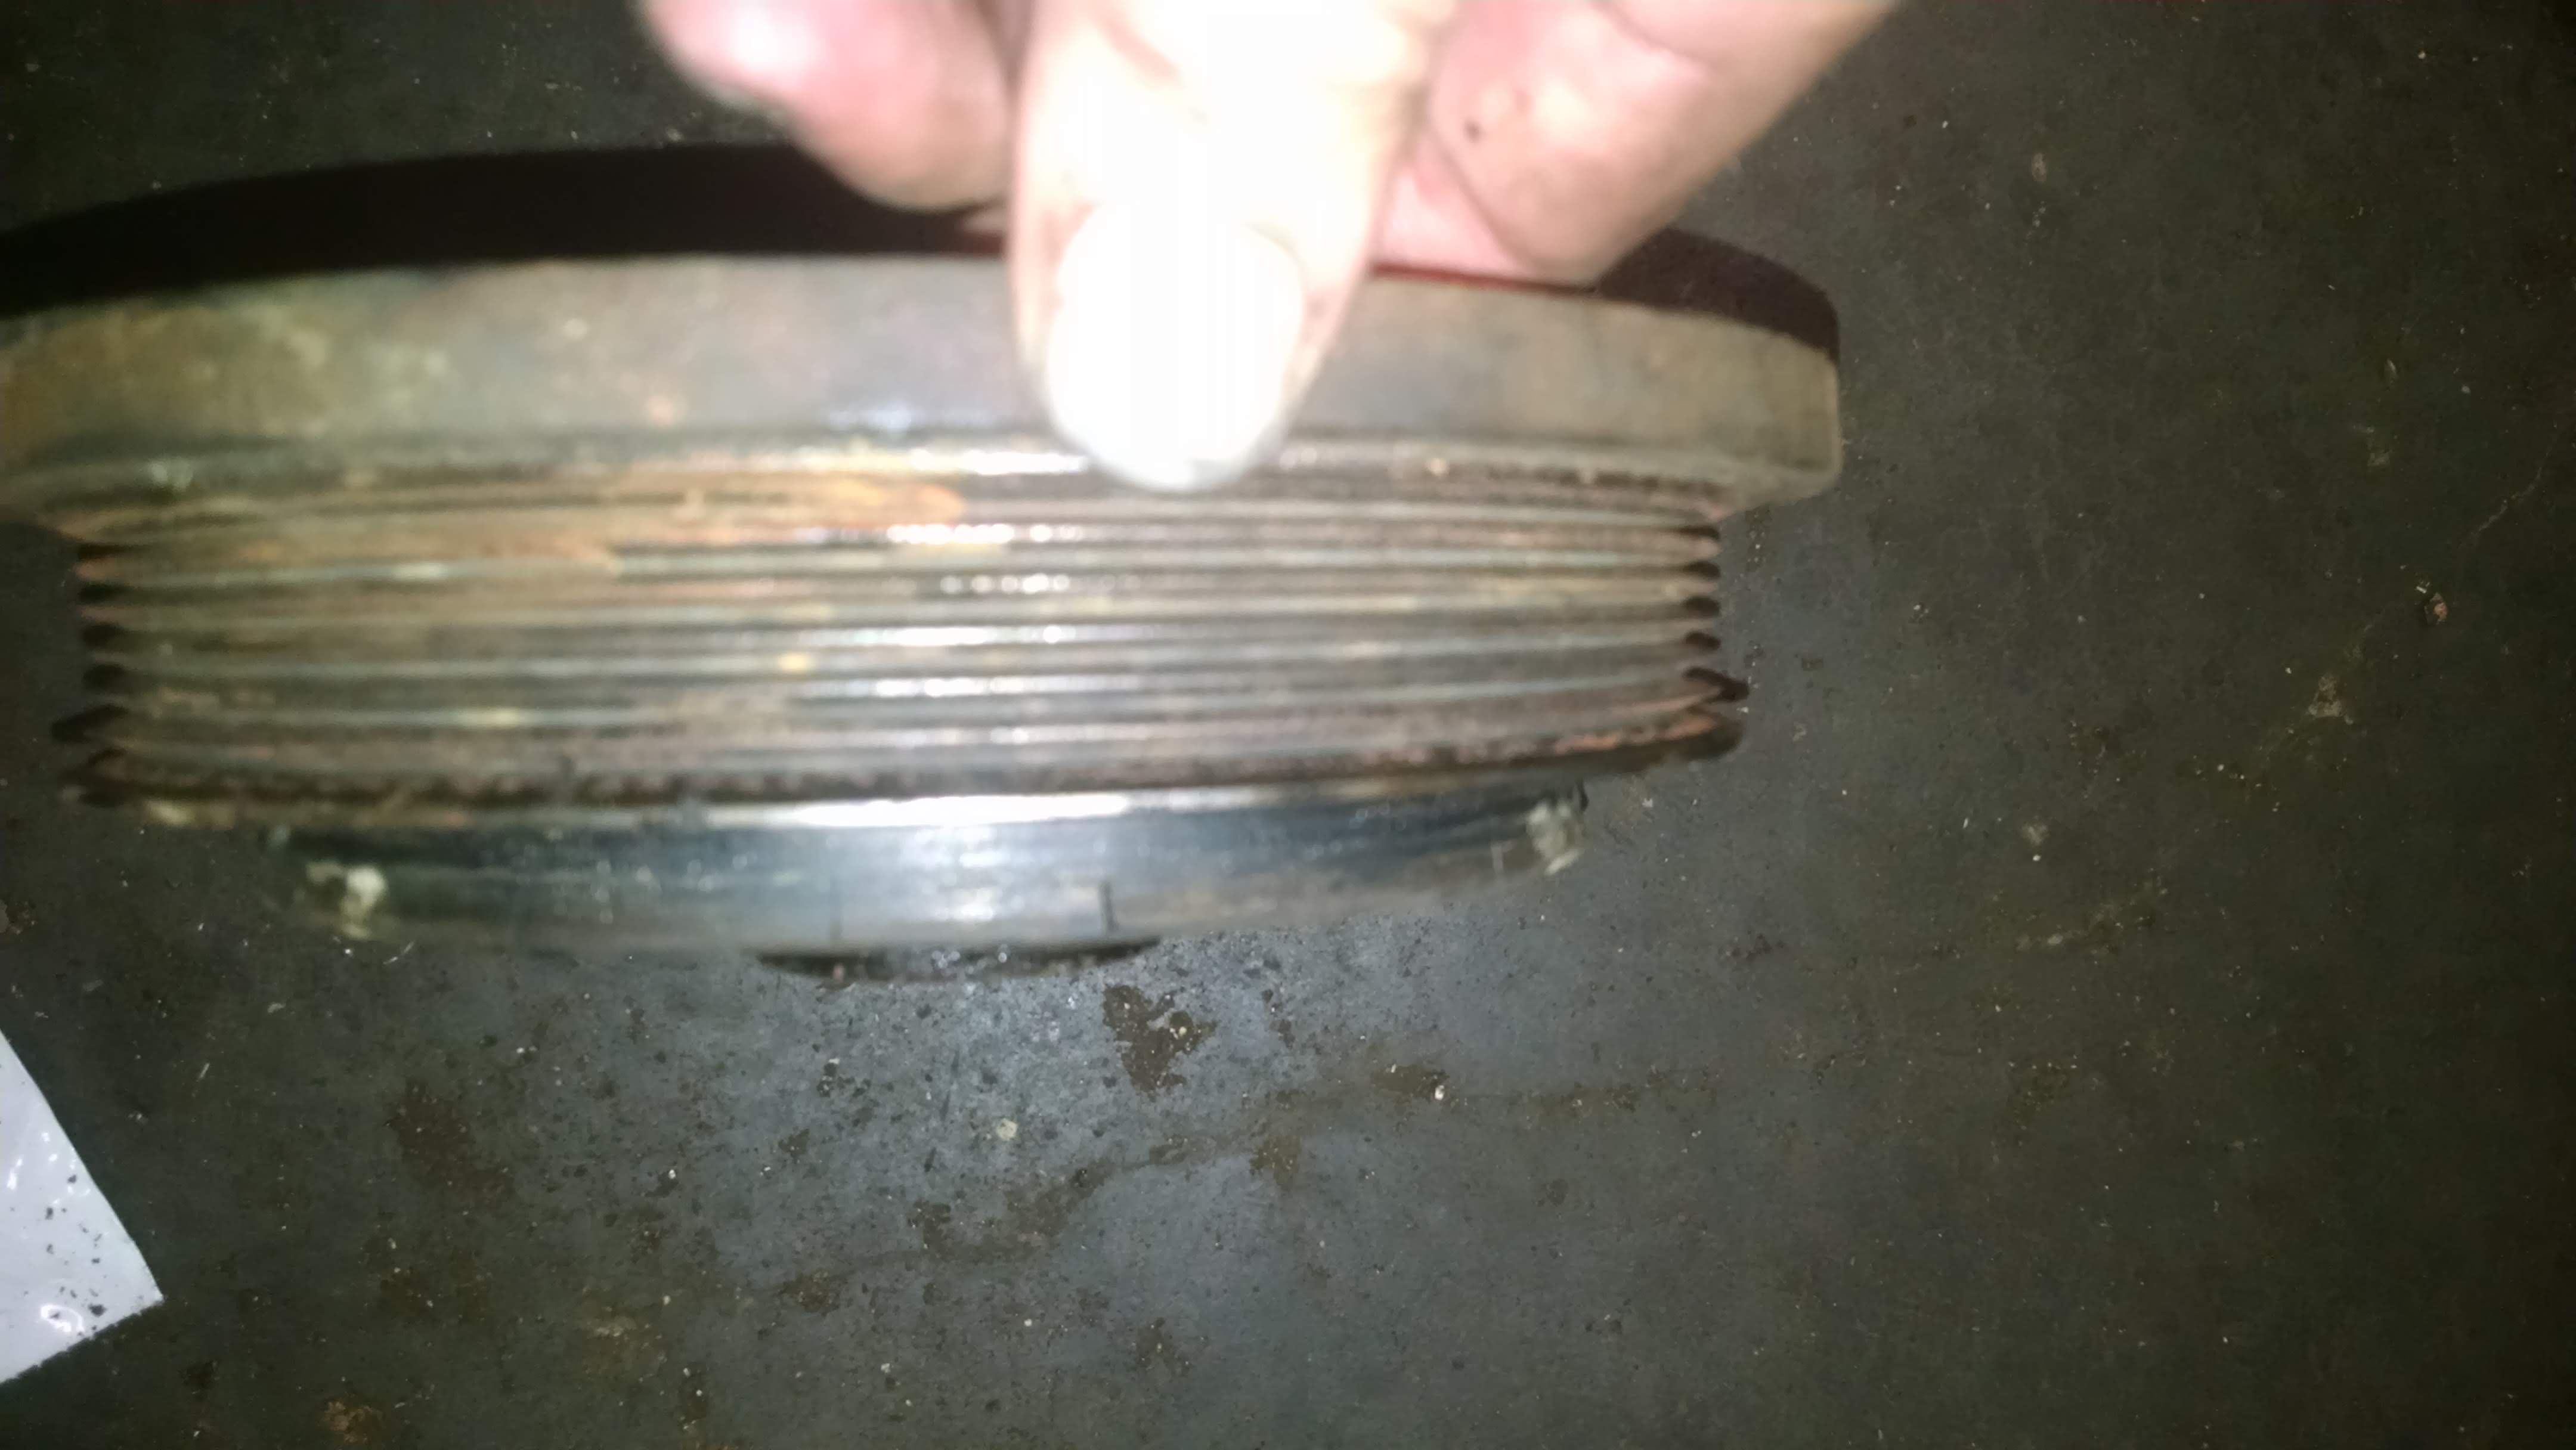
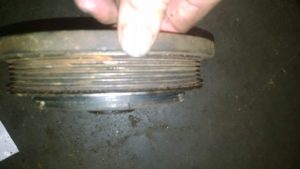
Recently I heard a strange sound on my Dad’s XJ Wagoneer. It sounded like something hitting the fan. It took me a couple of days to find it but when I did it was obvious. The harmonic damper had come apart at the rubber joint and was working its way forward off the hub.
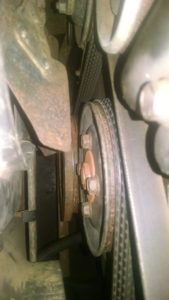

I caught it just in time.
I began by removing the bumper. This step is not absolutely necessary but makes the job a lot easier. Be careful with vacuum bottle in the back of the bumper when removing it.
Loosen the serpentine belt. On his Wagoneer the tension is adjusted at the power steering pump. Removing the air box makes it easier to get to the bolts.
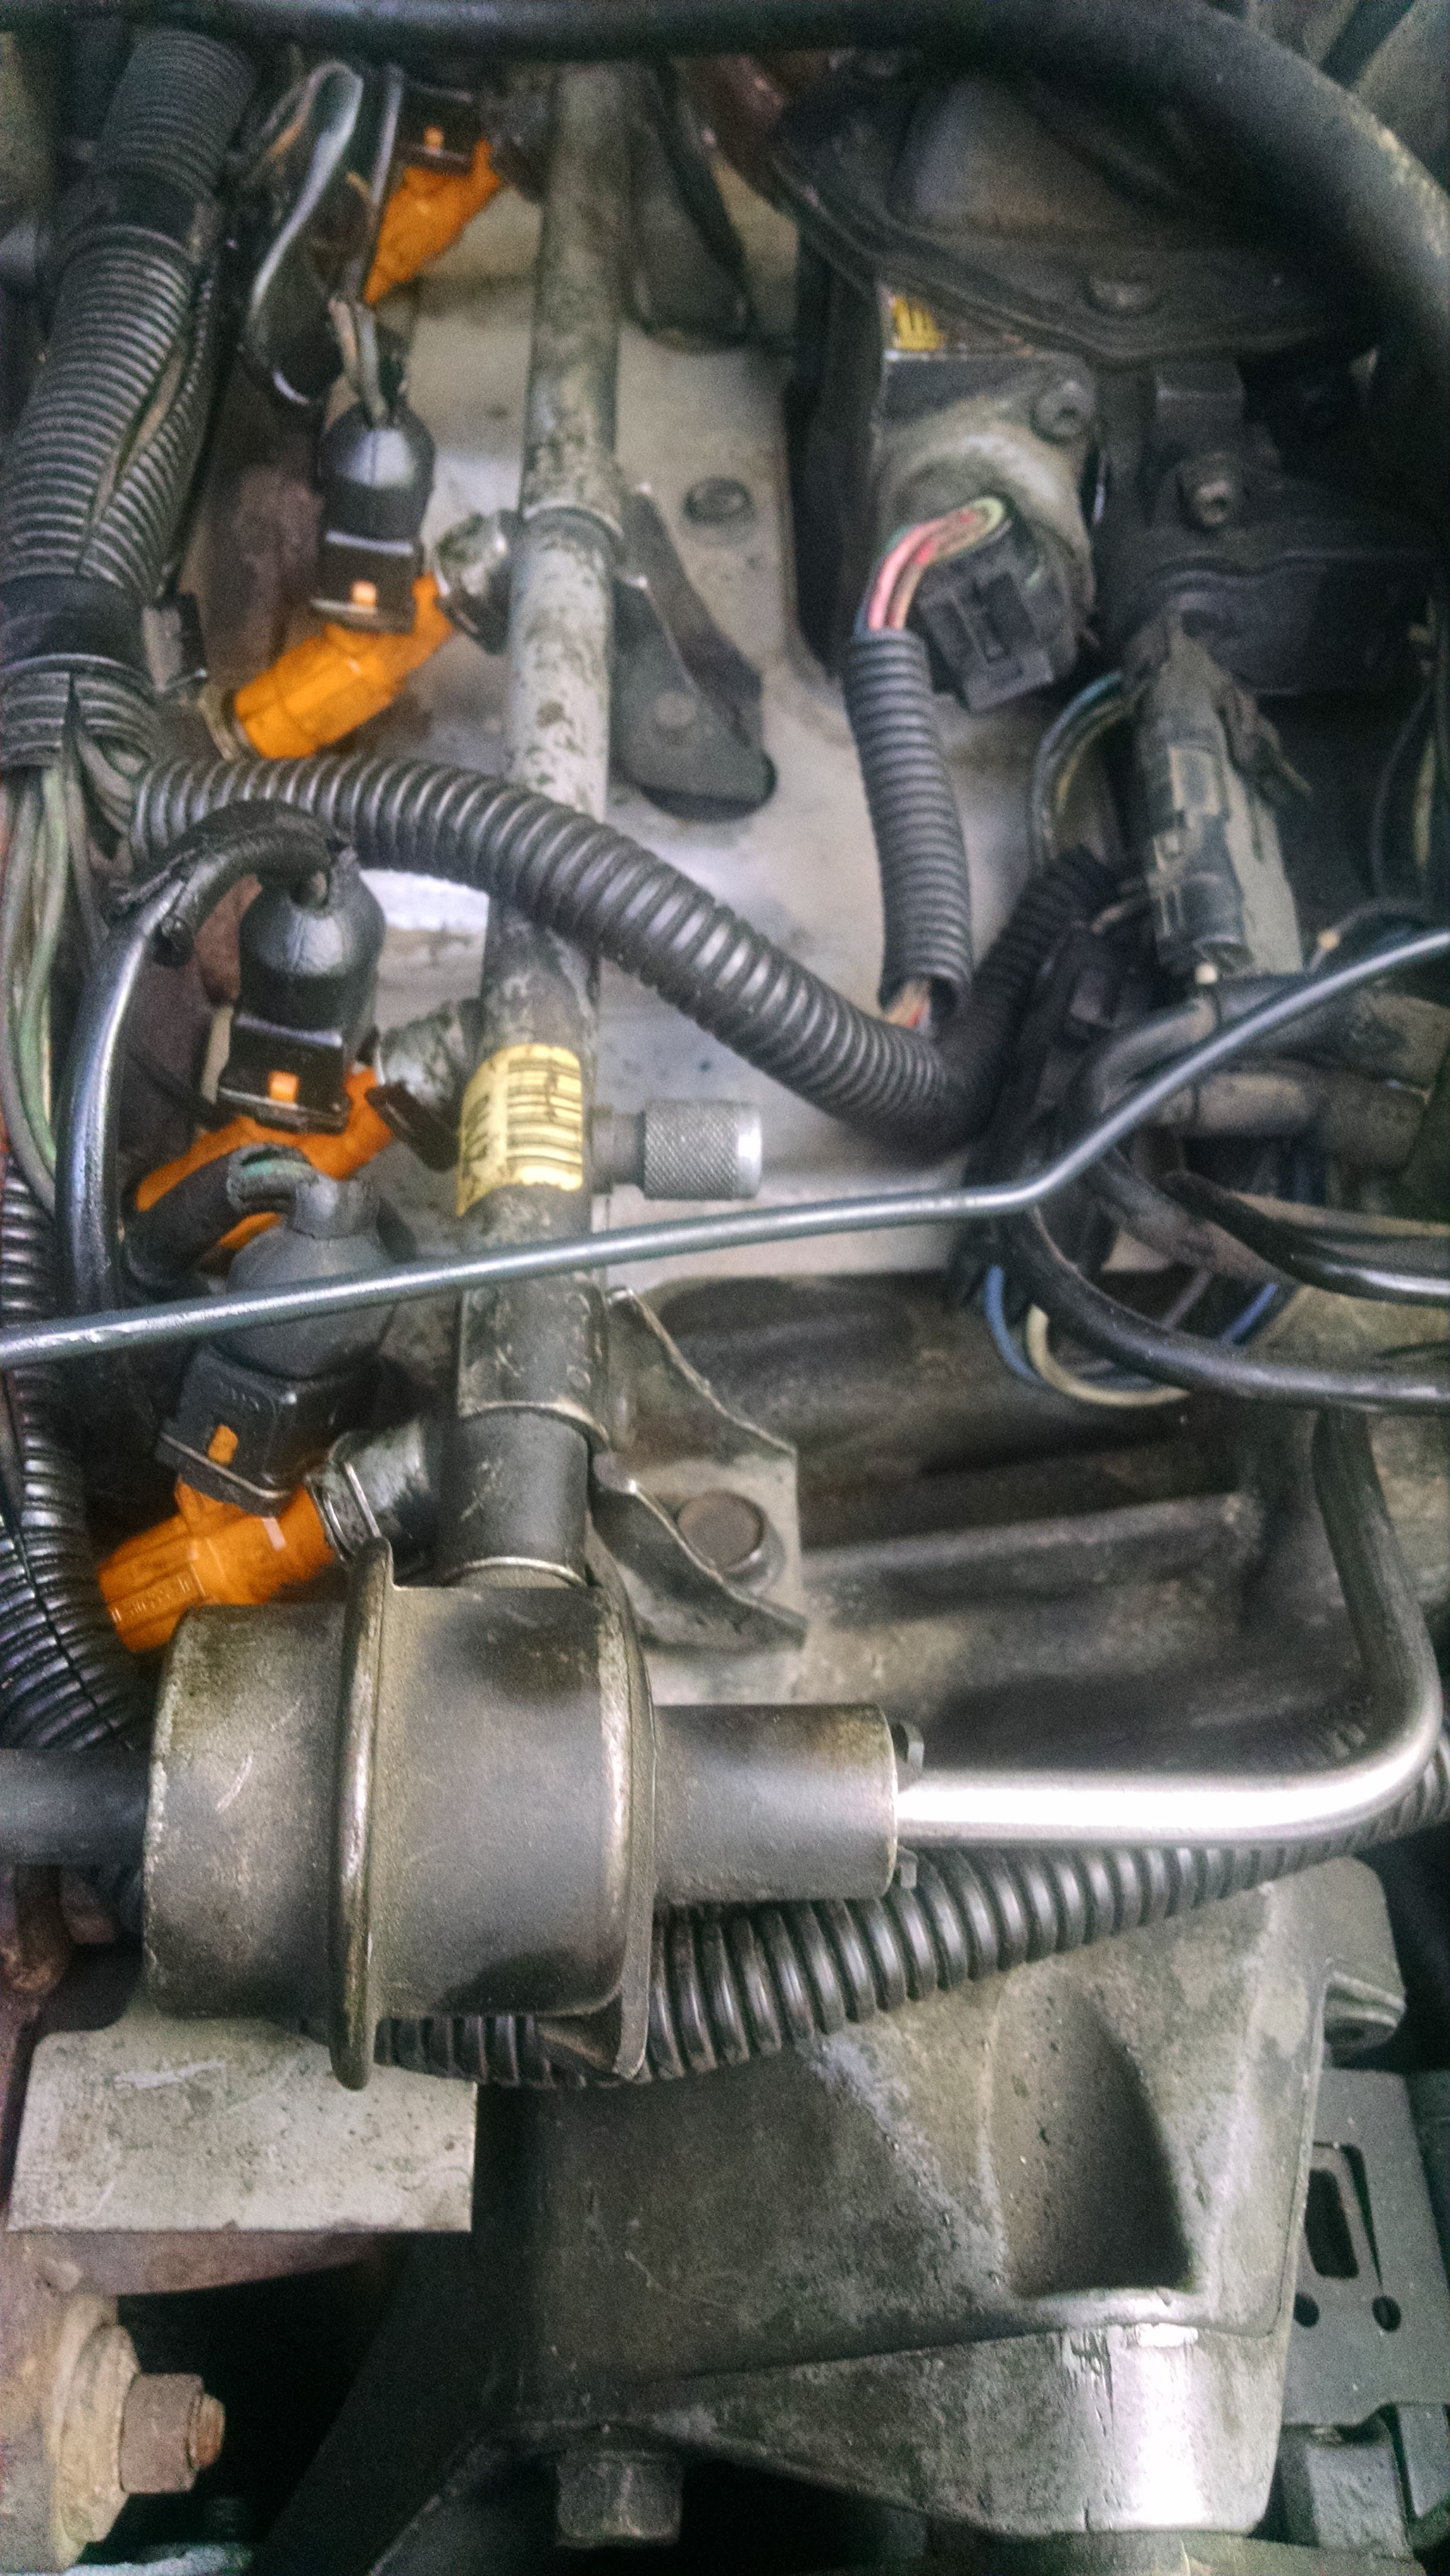
Using a puller, remove the old damper pulley. The threaded holes for removal are in the center hub so even if the pulley is coming apart like his was, the puller will still remove it.
It is a good idea to replace the seal while the damper is out. When pressing in the new seal absolutely do not hit the end of the crank with a hammer. If you do, take time to file done the edge you created before attempting to install the new damper.
Inspect the key and make sure it is seated in the crank snout. Make note of its position.
Carefully align the key way in the new pulley with the key and try to slide it on. They pulley should fit very tight but you should be able to get it on enough to make sure the key is lined up. You will feel it if it is aligned correctly. If you can’t get the pulley on far enough to feel the key way, stop. Do not go any further. If you try to install with the key way not aligned, you will push the key out and into the timing chain behind it. You will then have to remove the timing cover and replace the damaged parts. So take your time and get the key lined up properly.
If necessary, you can heat the hub with a hot air gun to expand it enough to make it slide on the crank enough to feel the key way. you can also use sand paper to open up the hole just a bit but don’t go too far as there still needs to be a tight fit on most of the shaft.
Once the key way is lined up, press the pulley onto the shaft using an installation tool. Autozone and Advance have these in their free rental program. However be prepared for the counter guy to argue that the only have the removal tool. You can buy your own from Amazon:
Do not try to press the pulley on using the crank bolt. This will damage the threads in the crank and make an expensive mess.
Once the pulley is pressed into place, remove the tool and install the bolt and torque it to specs. You can use a screwdriver in one of the slots to hold it from turning while using your torque wrench.
Reinstall the belt and tighten. Reinstall the air box and front bumper if removed.
These clips will likely be broken on your bumper bolts: