Adding remote control to my shop exhaust fan.
While walking through Home Depot I noticed a remote control for tree lighting on clearance. It looked like the just what I have been needing for my shop exhaust fan.


Jeep Performance Improvement Ideas
Adding remote control to my shop exhaust fan.
While walking through Home Depot I noticed a remote control for tree lighting on clearance. It looked like the just what I have been needing for my shop exhaust fan.
How to convert broken halogen work lamps to LED

I had two broken Halogen work lamps. These put out a lot of light when they work. However, the halogen lamps are very fragile and very expensive to replace. They also put out a LOT of heat. That is fine in the winter but not so much in the summer.
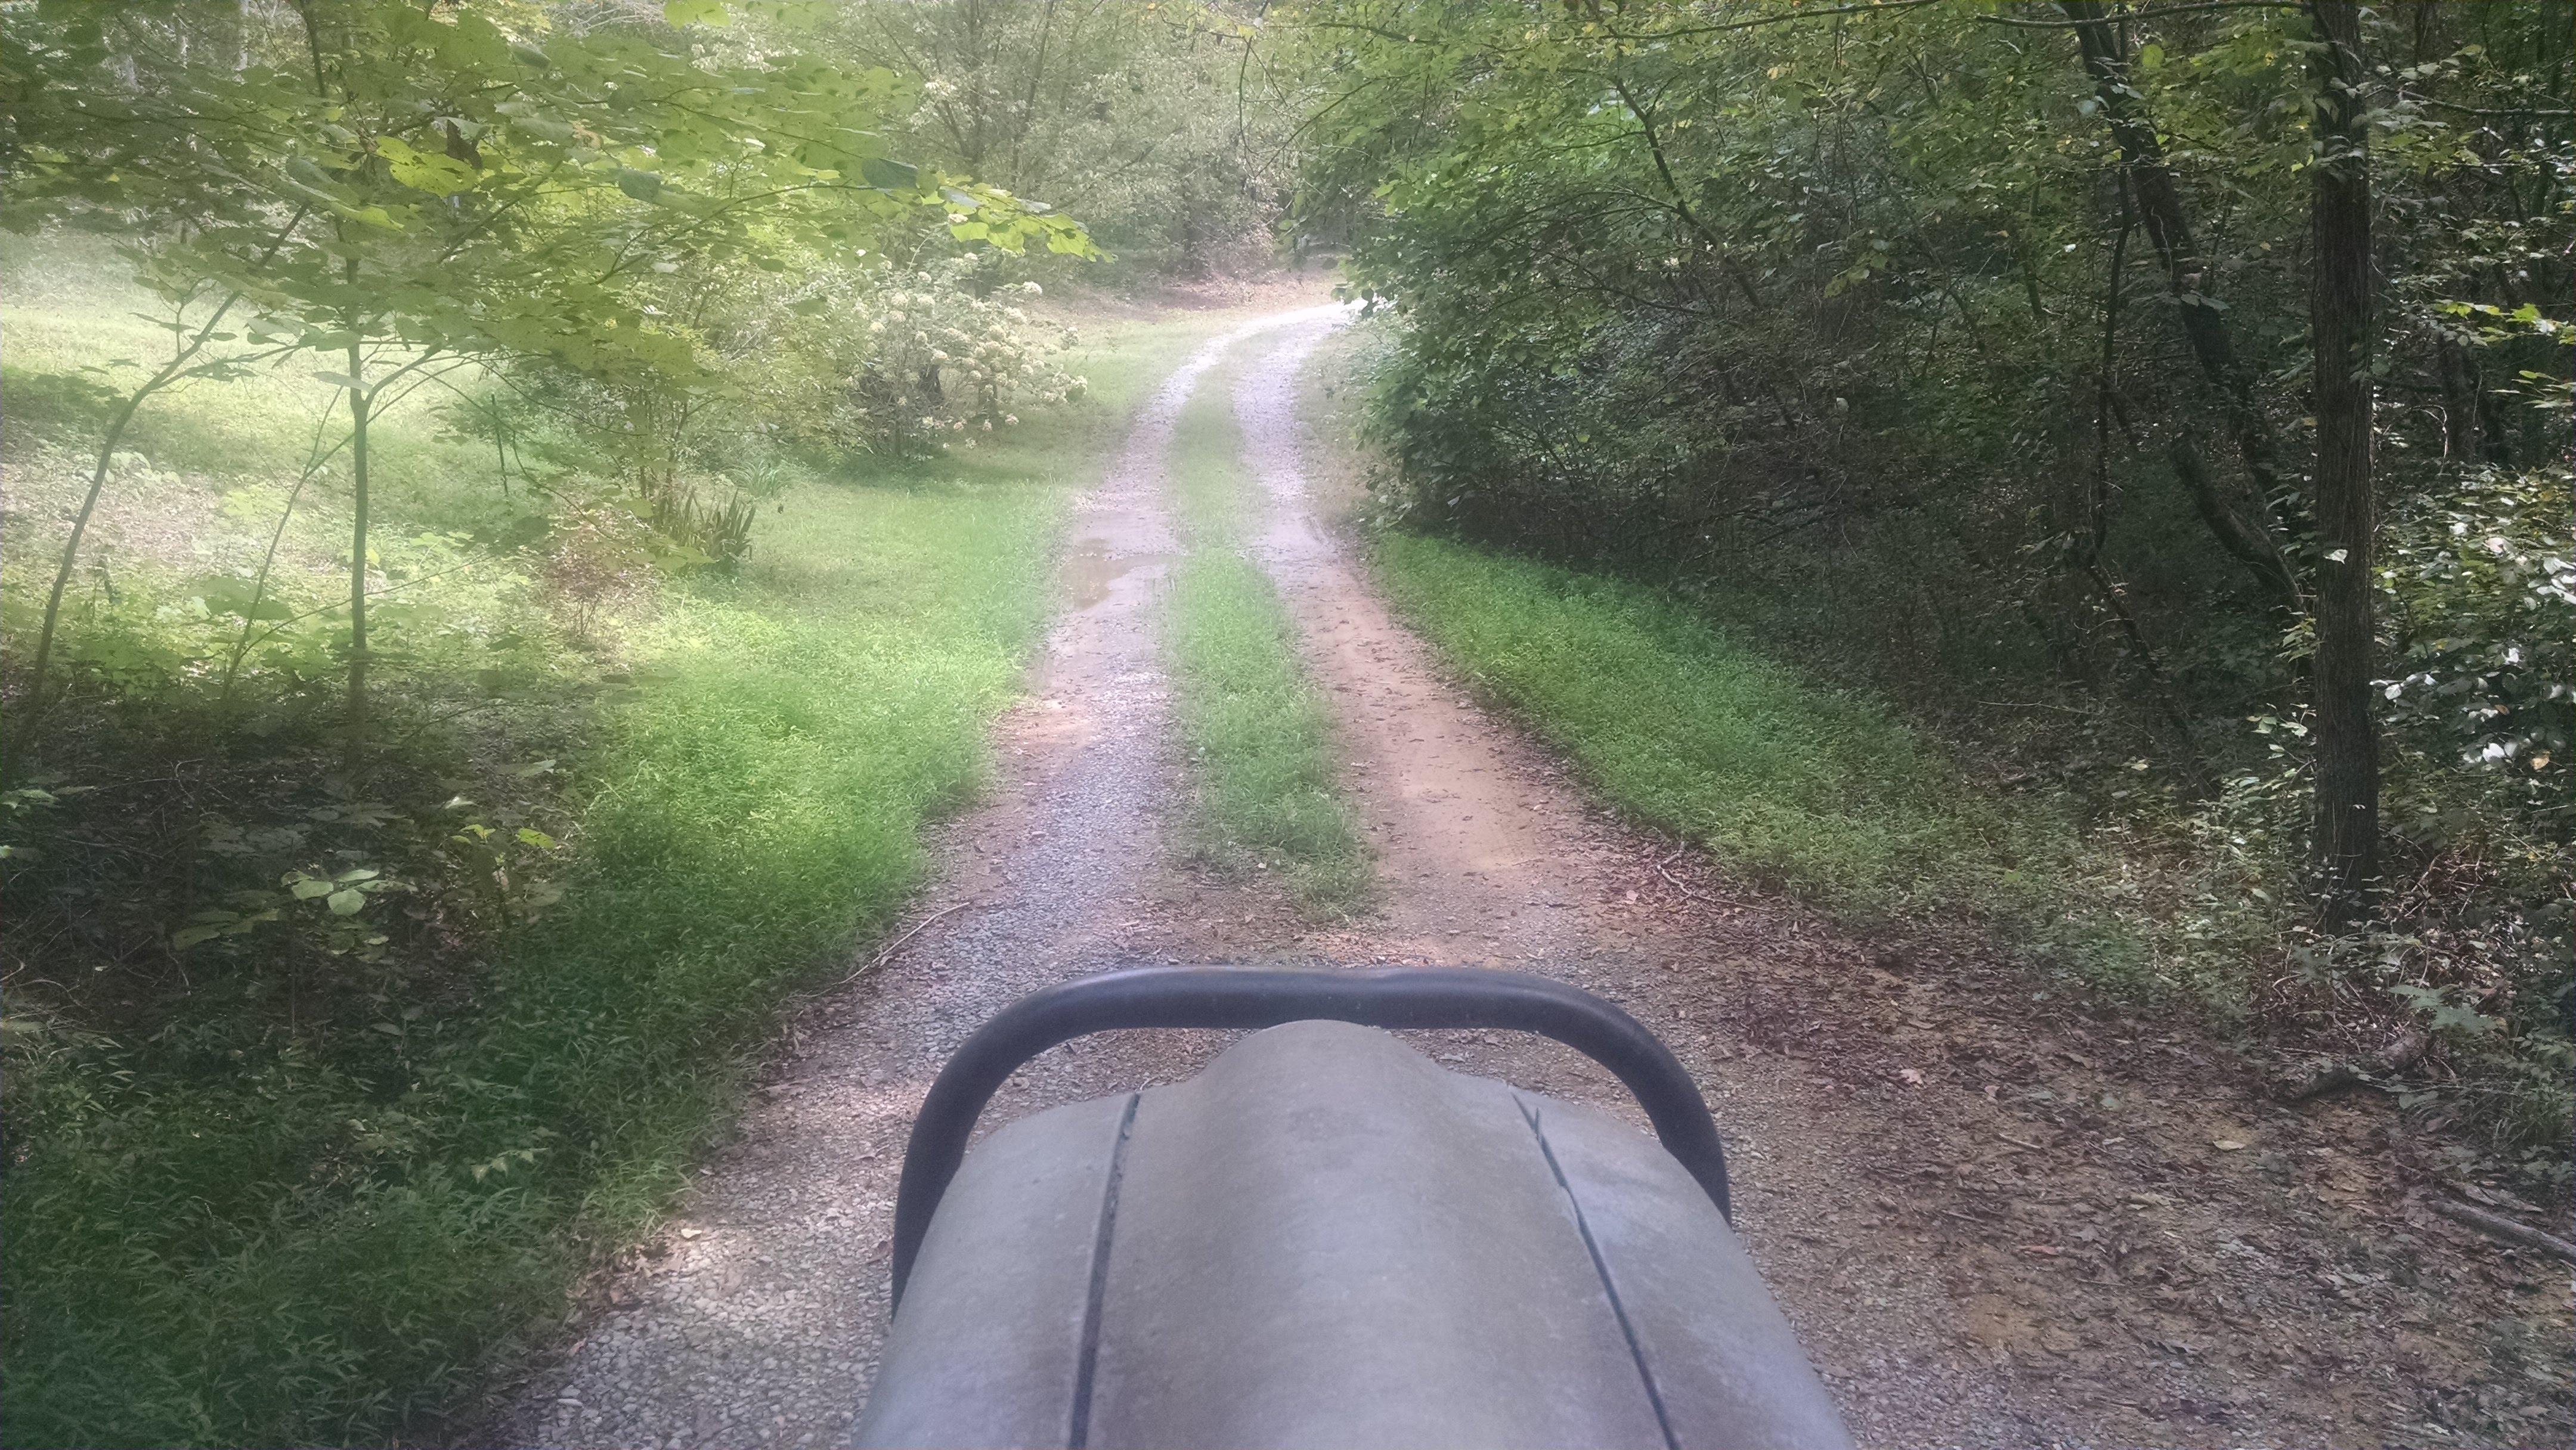
Continue reading “Halogen to LED conversion”Since I daily drive a Jeep Cherokee XJ, I often don’t notice the condition of the driveway. I live at the end of a dead end road and I have a long gravel driveway. Instructions to my house include, “when you get to the end of the paved road – keep going”
When I drive one of my sports cars however, the ruts and bumps in the droveway become very apparent. The Porsche and the RX7 do a fairly good job at grading the center of the drive but it is hard on the air dams.
Bridge Repair – correcting an oops
“Mister Straw, I need your help,” the county engineer said to my grandfather. “We have a dragline in the creek and we hope you can help us pull it out.”
The engineer went on to explain that they were installing a new bridge on one of the county roads. They had fabricated a new concrete bridge to replace the old wooden structure. They had cast a new concrete deck but had retained the original wooden abutments. During the back filling of the road bed, one of the abutments had been pushed off vertical and collapsed under the weight of the new bridge.
One end of the bridge had fallen into the creek. They had brought out the drag line to try to raise the bridge and now it was in the creek too – on its side.
Daddy Straw surveyed the situation and assured him that he could recover both the machine and save the bridge. Back at the shop he had my Dad and my uncle collect cribbing and jacks. HE then had one of the other employees drive the shop crane to the job site.
The shop crane or winch truck as he called it was made from a Ford lat bed truck with most of the body removed. There was a large boom mounted on the back. The rear axle had been replaced with one from a motor grader. A huge winch form a bulldozer was drive by the truck’s PTO. The operator’s seat faced the rear of the truck. Driving it to the job site meant an uncomfortable neck strain for the driver.
First they recovered the fallen machine using the old winch truck. Next, they set about raising the bridge.
My dad and his brother took on the task of wrestling the heavy hydraulic jacks and cribbing timbers down the creek bank and under the concrete bridge.
They built a base and began raising the structure a few inches at a time and re-cribbing with wood. It took about three weeks but they were able to raise the bridge back to the level of the roadway without damaging the bridge section.
Next my grandfather fabricated steel supports out of heavy H beams and my dad and his brother were assigned the task of snaking them down the creek bank and setting them in pace under the bridge. The dug down and created a concrete base to set he beams on.
Once that end of the bridge was stabilized, they move to the other end and temporarily lifted that end off the wooded supports. They cut out the wood and fabricated another steel support for that end. They then carefully set the bridge in its final resting place.
I am always amazed at the stories of how my Grandfather who had only a third grade education was called upon to bail out engineers and others who were supposedly more educated than him. I guess his education at the School of Hard Knocks as he called it was a pretty good one.

Hacking with Sugru
I have been reading about Sugru on several websites. I finally decided to order some and see what all the fuss is about.
I looked through the various bright colors and decided that black was really the only color I could see my self using for the projects I had in mind. It took some looking but I finally found where to order single color packs on the website. I entered my info and waited. My envelope arrived a few days alter and I was anxious to try out a packet.
I was at first surprised at how small the packets were. Somehow I had expected more volume for $15 but if it lives up to its reputation, it will be worth the price of admission.
For my first hack, as they call it, I decided to repair my broken key chain flash drive. It get s a lot of use and abuse and the case has been held together with tape for a while. More and more bits of plastic crumble off it each day. The exposed circuit board was beginning to worry me so it was an ideal test for my first Sugru hack.
I realized that about half a pack was all I was going to need for the repair. I did not want to waste the rest of the pack so I looked around for something else to test it on. I found a 2M radio that had an exposed wire at the power cord. Electrical tape keeps coming of the joint so I decided to try the Sugru.
For the thumb drive, I had to do a little prep work. The drive slips into a cover that is the key chain part. I needed to make sure the Sugru covered the damaged area but did not interfere with slipping it into the case. I read in the instructions that soap is a release agent. So I coated the case with dish soap and then molded the repair blob around the broken end of the drive. While it was still moldable, I slipped it into the cover. This made the Sugur form around the cover edge. I molded it in to the shape I wanted and let it set hoping it would really release for the cover.
The remaining Sugru, I molded into a blob around the wire side of the connector on the radio. I had a lot more confidence in this repair as I was able to work the putty between the wires and give it some mechanical grip as well as its adhesive powers.
After letting both tests set overnight I am pleased with the results in both cases. The thumb drive stuck a little in the cover but I was able to pull it out with a little force. It looks much better than the tape and exposed circuits. I think it is well protected now and should last a while.
The radio wire repair looks nice too. The joint is flexible and is much neater than having electrical tape wrapped around it. I am looking forward to hacking more things with Sugru.