I went to see the racing move based on the book Go Like Hell.
I am always disappointed with car movies. Ford v Ferrari was much better than most but it still had the same problems that always bug me.


Jeep Performance Improvement Ideas
I am always disappointed with car movies. Ford v Ferrari was much better than most but it still had the same problems that always bug me.
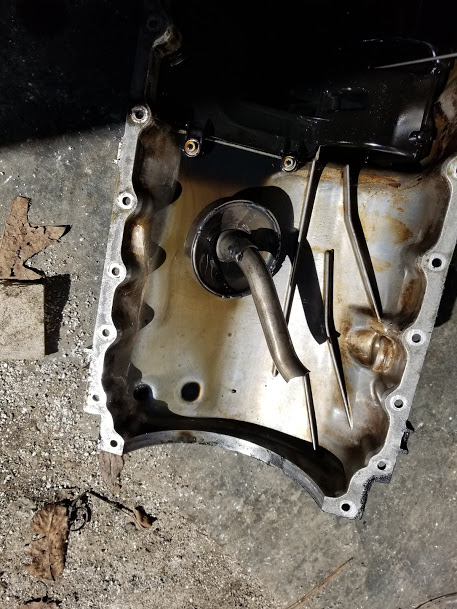
Our race at AMP was cut short due to a sudden loss of oil pressure. We tried to diagnose at the track, but the crack pulley was tight and the oil level was correct so we knew a removal and disassembly was next on the diagnostic list.
Back in the shop, I pulled the engine and dropped the oil pan. Inside, where it should not be, was part of the oil pick up tube. The remainder was still bolted to the block.
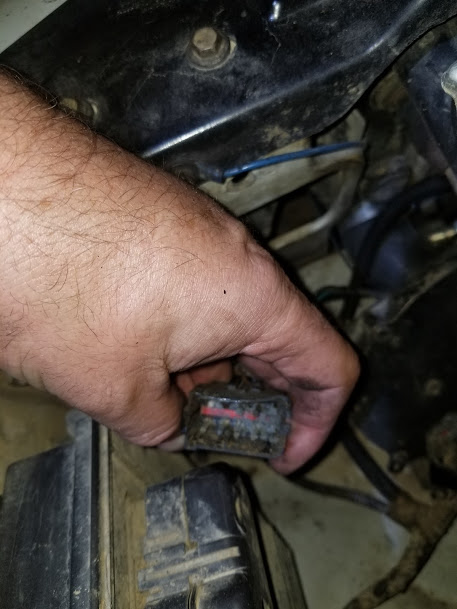
As the days get shorter and I drive more in the dark, I have been noticing that my LED headlights have been flickering a bit lately. Today they suddenly went out completely!
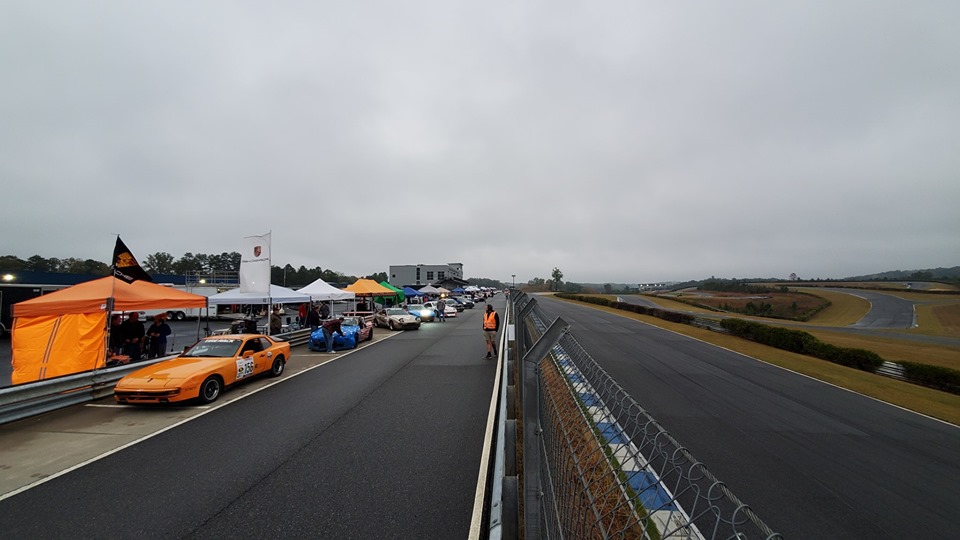
We raced at our favorite local track Atlanta Motorsports Park. We were pitted next to three other 944s. This made it fun to compare notes on the different builds.
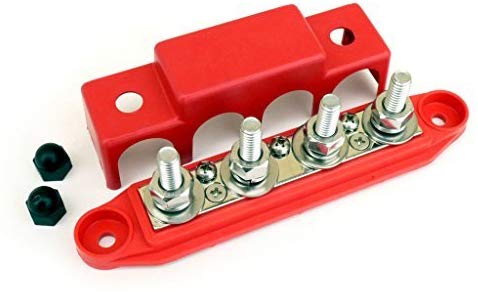
My winch wires have been run to my battery terminals. It was pretty messy. And every time I went to disconnect the battery I had to mess with the winch and accessory wiring.
So I ordered a power block from Amazon. https://amzn.to/2IEadiL