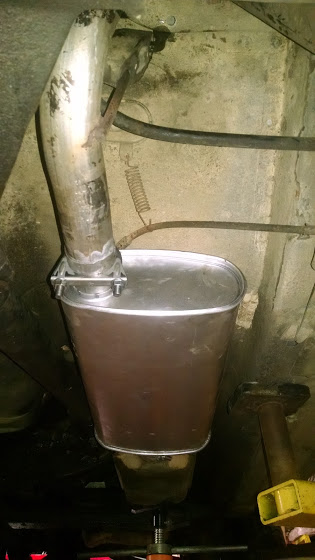
How to replace the muffler on an XJ Jeep Cherokee

Jeep Performance Improvement Ideas
Replacing the injectors in my Off Road Jeep
I recently swapped the injectors in my Dad’s Wagoneer. I like the results so much I ordered another set of injectors from K Suspension for my Jeep. Both of us have 4.7 stroker motors built by Titan engines.
Continue reading “Renix Fuel injectors again”
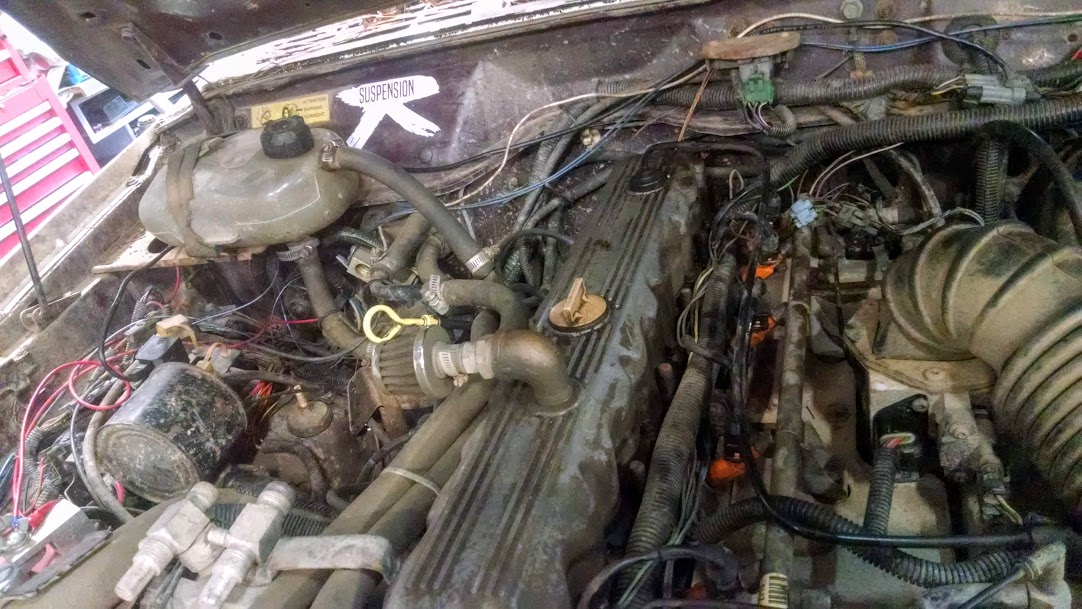
The Renix Engine fuel injection controller adjusts the idle speed by opening and closing a valve that bypasses the throttle plate. Often the Renix engines will have a high idle speed due to the Idle Air Control Valve leaking air past the plunger.
Continue reading “Renix Idle Air Control Valve”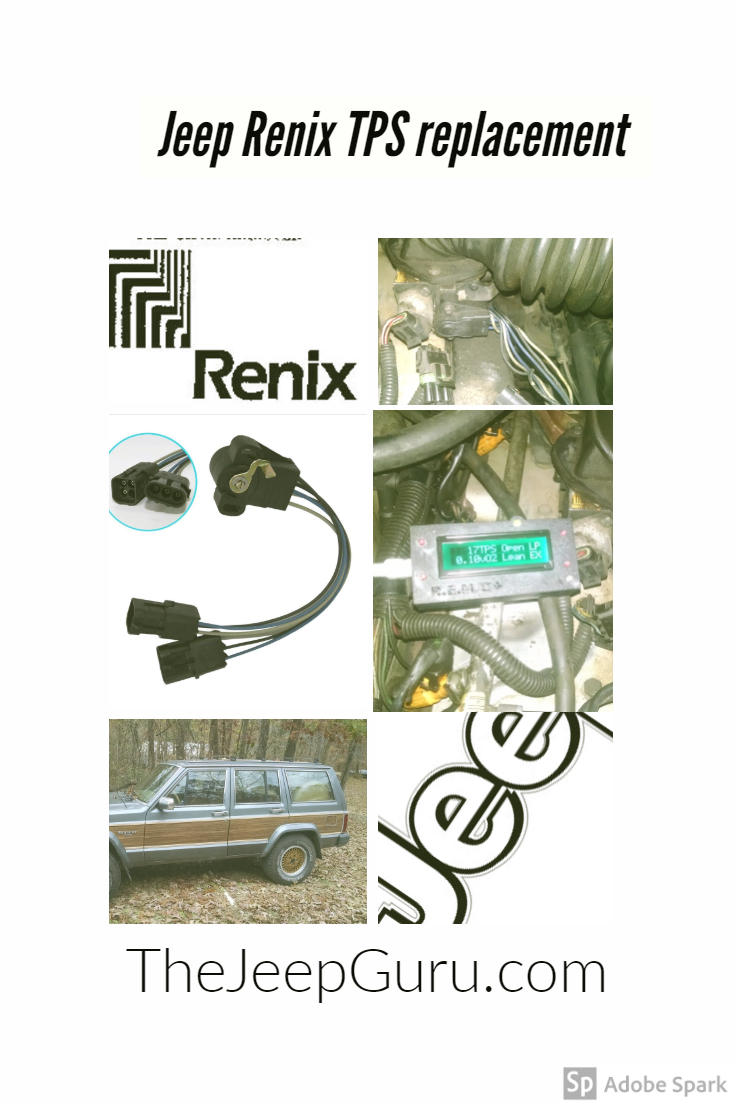
How to replace the Throttle position Sensor on a Renix Jeep Cherokee XJ.
My Dad’s Wagoneer has a 4.7 Stroker motor from Titan engines. It is lots of fun to drive. The wood grain panels make it kind of a sleeper.
Lately it has had a couple of issues. First the torque converter would not lock up causing excessive RPMS on the highway. This did not help the already poor gas mileage.
Continue reading “Replacing a Renix TPS”Nothing is more unnerving than driving a vehicle down the road, you hit a bump and bam it cuts out on you for an instant. You are in town and at a traffic light, as soon as it turns green you let off the brake and bam it dies on you.
Most people would tell you to change the crankshaft position sensor–been there and done that. Doesn’t help.
Change the Cam shaft position sensor–also did that and no it didn’t make it better
Change out the Throttle Position Sensor–Did that and no change
Did a complete tune up with new spark plugs, wires, distributor cap–Even checked, checked and rechecked with no improvements.
By this time major *SIGH*
What else do I check???
Checked over all the wires for any cuts or frays–all are fine.
Cleaned up the ECM-Like three times and still no change
Cleaned the throttle body-Enough to make it so clean you could eat off of it (well, not really).
At this point I’m about to just tear the whole engine compartment apart, clean everything up, re connect wires and sensors. Until…
I was sitting at my local community college after my evening class talking to my mom on the phone. I had just turned the key but not started it. A few minutes later as I was getting ready to hang up I just happen to notice the light on my radio display mysteriously came back on. Ok?
So I call my boyfriend and explain to him what just happened. He says I may have just solved the problem 🙂
The following weekend I take it out to my boyfriends house to look over everything. He decides to get in while I’m not paying attention and proceeds to wiggle the key in the ignition. BAM! He kills it. Tries it again and does the same thing.
Never in a million years would I have guessed after doing a hundred million common fixes would it be the ignition switch.
Found the problem…after I’ve nearly made my Jeep new again *SIGH*
I can laugh about it now though 😀