How to change a Power Steering Hose on a Jeep Cherokee

power steering hose

My son’s Jeep was leaving oil stains in the driveway and making a howling noise when he turned the steering wheel. I popped the hood and had him turn the wheel. Sure enough, fluid was seeping through the hose when it was under pressure. There did not seem to be a definite hole, the rubber had just become porous with age.

Before I began, I coated my hands with Market America Clear Shield to protect me form the power steering fluid.

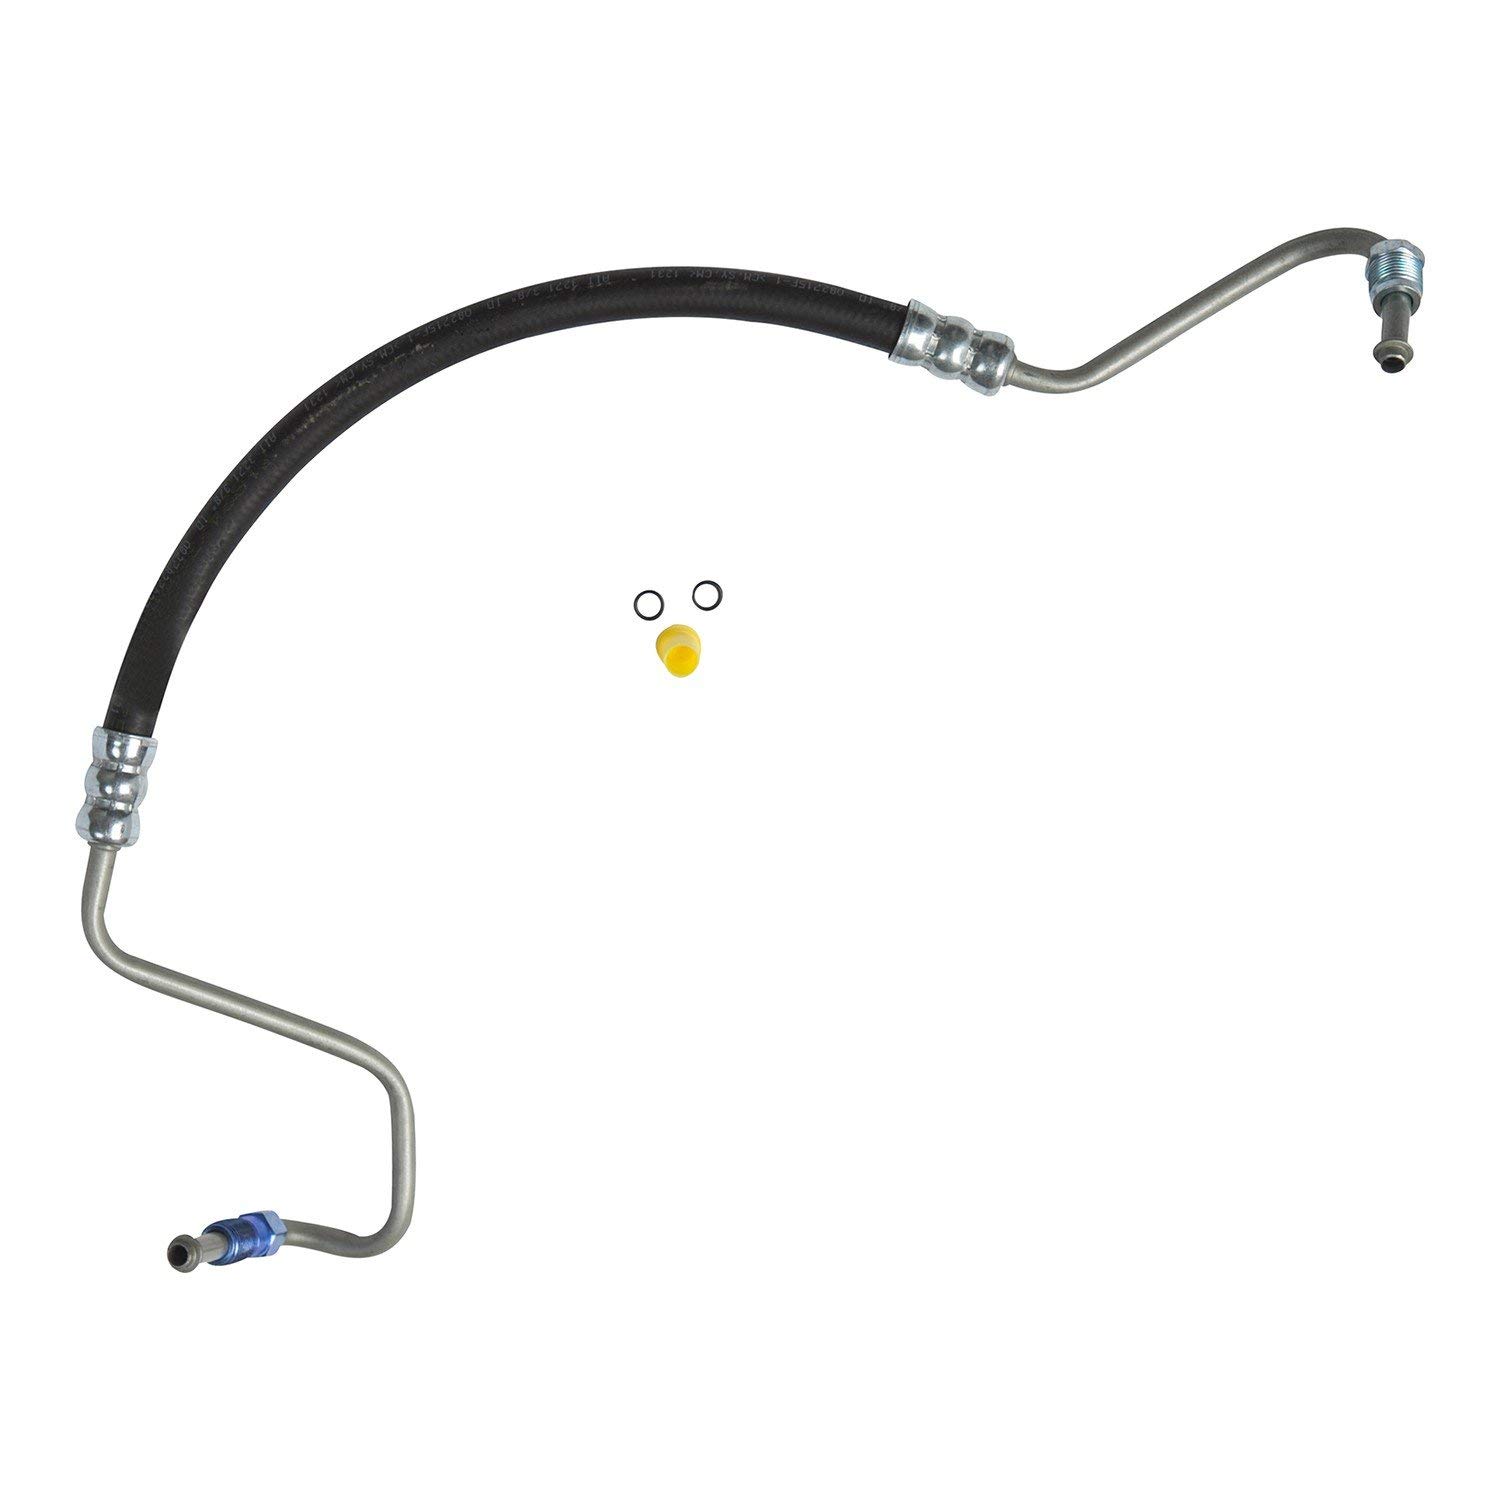
I began by obtaining a replacement hose. I could have had a new section of hose put on the old fittings at a hydraulic shop. However, it looked like one of the metal ends was kinked by a previous owner so I elected to replace the entire assembly. I bought one from a chain auto parts store so that he could easily swap it out if there was a warranty issue.

Since the hose had been leaking for a while, the area was very oily. I coated my hands in Market America Clear Shield to prevent oil stains on my skin.

First I removed the air filter box since the steering box is located below it. Next, using a 5/8 inch wrench (because I don’t own a full length 16MM open end,) I loosened the fitting at the pump.

The fitting at the steering box is 18 MM. It is very difficult to get to even with the air box out. Before removing it, make sure you remember how the hose is routed. Take a picture or make a drawing to make sure it goes back the right way. It may look like you have to remove the return line to remove the pressure line but you don’t. There is enough room to pull it out if you twist it correctly.

Next I installed new O rings on the new line. I was careful not to nick them as I used my fingers to slip them in place.

I installed the steering box end first but left it slightly loose so I could rotate the hose to the proper position to make the pump connection line up. I was very careful to not cross thread the lines when screwing them in place.

Next I installed the pump fitting. I held the line in the proper relationship as I made the final turn on the nut. I could feel the O ring seat. Then, I turned the box end the last turn and locked it down in place as well.

I filled the reservoir with the correct fluid. I then started the engine and turned the wheels from lock to lock a few times until I heard all the air purge out of the system. I then checked for leaks at the fittings and the crimps on the new hose.

I reinstalled the air box and replaced the various vacuum lines that had been knocked loose by moving the air box around. I am glad I caught it before the pump was damaged from running it low on fluid.

Beck Arnley Power Steering Pressure Hose

[phpbay]jeep power steering, 10[/phpbay]

How to repair a broken door hinge on a Jeep Cherokee

How to repair a broken door hinge on a Jeep Cherokee

One common failure point on the Jeep Cherokee unibody is the point where the driver’s door attached to the pillar. Often, the heat affected zone around the weld will crack allowing the door to pull loose.
Broken Door hinge Jeep Cherokee

It is best to make the repair before the hinge breaks completely loose. However, most don’t make it to me until they have completely separated.

Jeep has a repair kit available for this common failure. There is also a Technical Service bulletin to at describes the repair and the use of the kit. You may wish to check out this method before proceeding with the following procedure.

My preferred method of making the repair is to reweld the hinge in place. This can be accomplished with a small wire feed welder with minimal welding skills.

To access the hinge, you will have to remove the fender. If this is an off road Jeep, then you will not likely have to deal with the flares and inner liner. However for most, these parts will have to be removed as well.

There are three fasteners that hold the fender under the front fiberglass header. So, begin by removing the header. The front piece is held in place by two nuts on either side and four nuts along the top radiator support. You will have to remove the head light surrounds to access the nuts on either side.

With the header loose, slide it to the side. There is usually enough slack in the headlight wiring harness to move it enough to access the three fasteners. If not, remove the air box to access the connector. Remove the three torx head bolts securing the fender. I prefer to remove the three that hold the fender to the angle piece as it makes the fender easier to remove.

Remove the plastic rivets that attach the flare to the air dam. I have not found a way to reuse these so just cut them with a pair of dikes. There is also a sheet metal screw that holds the fender to a brace near the front. Remove this screw as well.

Next, remove the bolts along the top of the fender under the hood. There are two more inside the door opening. If the torx head strips while trying to remove these, you can drill the bolt head off using a ¼” drill bit. Use a good quality torx bit to minimize the chances of stripping the bolt.

There are two more bolts at the pinch seam at the bottom of the fender. Since these are exposed to salt and dirt, they rarely come off in tack. Save time by cutting them out with a cut off wheel. They can be replaced with any ¼ inch bolt and nut.

Separate the inner fender liner and pull it out. Often but not always, the liner will be attached to the bolts that hold on the flares. These small bolts are easily broken so use lots of penetrating oil and be very careful when taking them out.

With the liner out, you can see a brace that holds the fender. Remove the bolt from the flare connector to remove it. Carefully lift off the fender.

Now you can access the hinge mounting area. Close the door and make sure it is securely latched in the proper position.

If the hinge is not completely broken away, you can tap it back in place with a hammer before rewelding. In the more likely event that it is broken completely loose, you will have to compress the weather stripping to get the hinge into the proper position before welding.

One way to press the door into place is to use a 2×4 plank about eight feet long. Pad one end and place it against the door just below the mirror. Use a ratchet strap to pull it against the door. I hook one end of the strap to the free end of the board and the other end to the T slot in the unibody frame rail just below the door. Be careful to tighten it only enough to press in the hinge and not so much as to dent the door.
Pressing door hinge Jeep cherokee

Use a grinder and wire brush to remove as much paint as possible from the weld area. You likely will not be able to get it perfectly clean but remove as much as possible for a smoother weld.

Now, tap the hinge into its correct place and weld. Mimic the factory weld by putting most of the heat on the thick hinge and only enough on the thin sheet metal to get good penetration. Start on areas that you were able to clean and work into the areas that still have paint. You will get some splatter but the paint will burn away and make a secure weld.
Completed repair Jeep Cherokee Door Hinge

Once you have a good weld, let it cool and paint the area to prevent further rusting. Reinstall the fender, inner liner and front header.
Putting it all back

Jeep MAP sensor error

Clearing MAP sensor code

Yesterday while I was repairing the door hinge on a friend’s Jeep Cherokee, I noticed it had been running rich. I checked the ECU codes and found code 13 and 52. 13 is an unresponsive MAP and 52 is O2 rich.

I first swapped in a spare MAP, cleared the codes and started it up. I got he same rough idle and soon the same code in the Check Engine light.

With the engine still running, I pulled off the vacuum line and noticed there was no vacuum. The line looked fine. I pulled off the other end and found vacuum at the manifold. The line was obviously clogged.

As I was walking to pull a spare off the parts rig, I noticed a tiny spot on the bottom of the line that was melted. I never found the source of the melting, but the Jeep ran much better after replacing the plastic hose. The MAP and Rich codes cleared up as well.

How to change the power steering pump on a Jeep Cherokee

How to change the power steering pump on a Jeep Cherokee

Begin by removing the air cleaner box. There are three bolts in the bottom that are access by removing the filter. Be careful when separating the various air line form the box.

Begin by breaking loose the high pressure line. This is a 5/8” hex on most Jeeps.

Remove the low pressure return line as well.

Loosen the jam nut on the belt adjuster under the pump and loosen the drive belt.

Next remove the three bolts on the back of the power steering pump.

Remove the pivot bolt on the front of the pump.

Remove the bracket and pump as an assembly.

Use a pulley removal tool to remove the plastic pulley from the pump. Most Auto parts stores have these as loaners for this job.

Put the two halves of the puller together over the groove in the pulley and the tool. Slide the sleeve over the two halves. Turn the bolt to press off the pulley.

Now remove the bolts that hold the pump to the bracket.

Bolt the new pump to the bracket.

Press the old pulley onto the new pump using the press in the kit.

Thread the stud into the treads in the pump shaft. Place the pressing washer over the stud. Turn the nut to press the pulley into place.

Mount the bracket back on the engine and reconnect the lines.

Adjust the belt tension

Replace the air box and filter

Reconnect the air lines

Fill the reservoir with new fluid but do not start the engine.

Note, if the old fluid looked contaminated, milky or black; you may want to flush the system before continuing. Follow the instruction in the pump kit.

Turn the wheel from lock to lock

Check the fluid level and top up if needed.

Start the engine and again rotate the wheel from lock to lock slowly.

Check the fluid level again and refill as needed.

Check for leaks and correct any you find.

Replace the cap.
[phpbay]jeep steering, 10[/phpbay]

How to remove a Jeep Cherokee Brake Caliper

How to remove a Jeep Cherokee Brake Caliper

There are two different brake calipers used on the Jeep Cherokee. The earlier Jeeps, 1990 and before, use two cylinders with 7mm hex key slots. The later, 1991 and newer, use two 13 MM blots to hold the caliper in place.

In either case, begin by lifting and securely supporting the Jeep.

Remove the wheel.

To improve access you can rotate the steering so that the brake caliper is facing out. However unless you have longer than stock brake lines, don’t turn it all the way or you will have trouble getting the caliper off the brake pads due to the brake line.

Remove the mounting bolts or cylinders using a 7MM hex bit or 13MM socket as needed for your year.

On the earlier models, the ones with he 7mm cylinders, the brake pads stay in place and the caliper slides off them. On the newer ones, the pads come off with the calipers.

In either case use a pry bar to rotate the top of the caliper back to slide it off. On the newer one, if there is a groove in the rotor you may have to push the pads back into the caliber slightly to get it to slide off. In severe cases, you may have to loosen the bleeder screw to get it to compress.

When replacing the earlier style it is a good idea to replace the Teflon sleeves that go around the cylinders when you replace that caliper. At least inspect them before reinstalling the caliper.

Sometimes the caliper can be stored by placing it over the lower control arm. In most cases it is best to use a wire to tie it up while the other brake parts are being serviced. Do not let it hang by the brake hose.

If new brake pads are being fitted, you will need to compress the piston back into the caliper before they are refitted. I use a large C clamp to push the piston in. Or you can use a caliper compressor tool.

To replace the caliper, slide it into place and carefully feel for the fit of the retaining bolts or cylinders. They should start easily by hand. If not remove the caliper to see why it is not aligned. These bolts can be easily cross threaded and a thread repair is not easy on the knuckle. So avoid cross threading by carefully aligning the caliper when reinstalling securing bolts or cylinders.

Reinstall the wheel and properly torque the lug nuts.

Before moving the vehicle, be sure to pump the brake pedal a few times to take up any slack that was generated by pressing the piston back in.