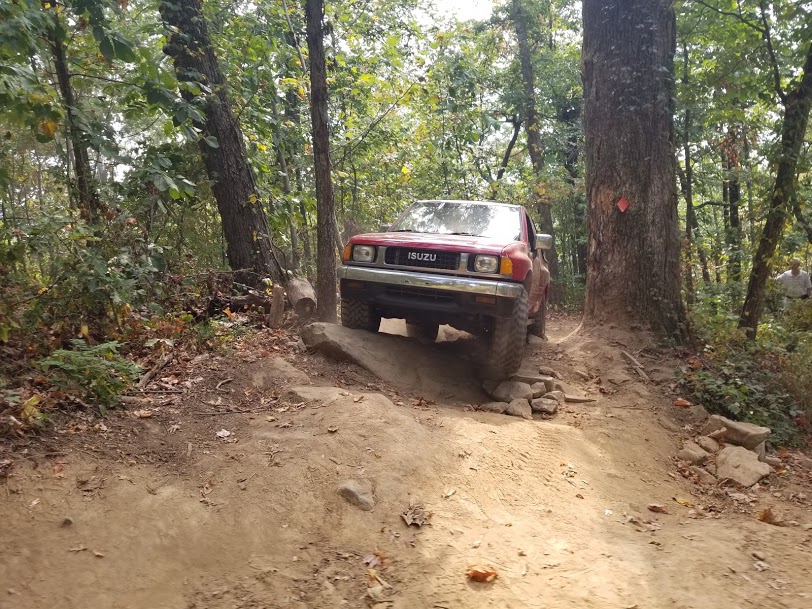
Removal of a CV axle in a 1990 Isuzu Amigo
Tom’s Amigo had trouble on our last off-road trip. It would lose front drive occasionally. We eventually diagnosed it as the CV axle pulling out of the hub splines.
Tom picked up a new axle https://amzn.to/2Vk4B2t and this weekend we decided to swap it out. Or maybe just replace the C clip that had come loose allowing the axle to pull out of the hub.

We began by lifting the truck and pulling the wheel. We then removed the brake caliper at the support bracket. These bolts were very tight and required a breaker and cheater pipe to break loose. Then, we set the hub to free and removed the bolts holding it in place. The hub lock pulled out easily with all the springs still attached, unlike last time I had it apart.
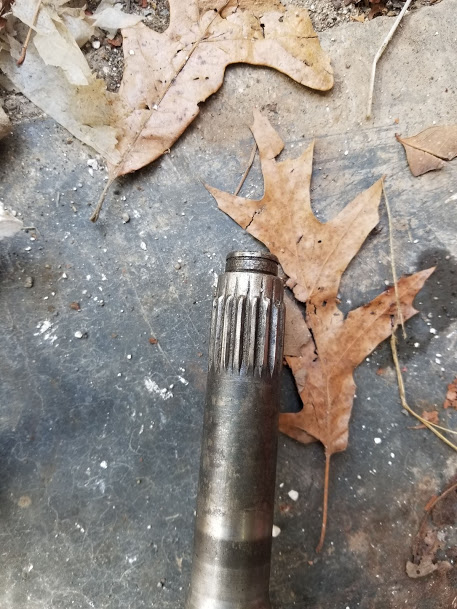
With the end of the CV splines visible, the problem was apparent. The last ½ inch or so of splines were gone. The Clip was resting in the hub lock cavity. There was no place to put the clip back so we continued with replacing the axle shaft.
We then removed the hub flange and inner gear. Next, we pulled the three Phillips screws. I used my impact driver https://amzn.to/2AMbksv and they came out easily. Next, we removed the locking ring and unscrewed the hub nut.
Next, we removed the castle nuts on the ball joints and tie rod end. We had to use a separator tool https://amzn.to/2LUyXWf to get the joints to come apart. The typical prying and hammering method did not work on these.
With the hub and knuckle removed, I expected the CV to slip out of the differential. However after some research online we found there are two C clips inside the differential housing that hold the axle in. To remove these we had to remove the end plate form the differential..This plate also holds the axle to the frame.
We supported the differential on a jack stand https://amzn.to/2pTjCfX and began removing parts that blocked removal of the plate. In all, we removed the sway bar, bump stop, loosened the pivot arm for the steering, removed the cross member and the lower shock bolt. With all those parts out of the way, we could finally remove the axle and plate as an assembly.
We then were able to remove the C clip that holds the axle bearing in place. We expected the bearing to just drive off the end of the shaft but unknown to us at the time there is another C clip behind the bearing that holds the seal in place. We got the bearing off but in the process damaged the seal. I think the bearing needs to be pulled with a bearing puller which may be why it has a snap ring on its OD that seems to have no purpose.
Parts for this truck have become harder to get lately. I finally found the proper seals and bearings at Parts Geek. Several places listed an inner and outer seal but none of them looked like what we destroyed. I was finally able to cross a partial part number for the seal.
The Seal part number is NOK W0133-1838694. The OEM number was 8-94366-610-0. It can possibly be crossed to a Honda Part number. I also ordered new bearings – Timken 106FL. https://amzn.to/31W3qZg Once these parts arrive we will try to remember how to reassemble all of it.

For now, we temporarily replaced the plate to support the axle end. Slipped the knuckle back on the ball joints and reconnected the steering and brakes. That way we could back it out of the shop until the parts arrive.